Lemon Lavender Scones / Vegan, Gluten-Free
Lemon Lavender Scones are fluffy and buttery with a bright pop of lemon and a subtle hint of lavender. This vegan gluten-free scones recipe has a melt-in-your-mouth texture and is totally irresistible topped with an easy lemon glaze!
Every 3rd weekend in August my little town of Port Angeles holds a county fair. It was the highlight of my kid’s summers. We’d pack a homemade dinner, make the mile trek from our house, and let each kid pick one treat to buy at the fair. They had every choice from cotton candy to ice cream but the one treat worth standing in a long line for was lemon lavender scones. Rich, flakey, buttery scones with bright pops of lemon and a hint of lavender were impossible to resist!
We’ve been crushing on lemon and lavender scones since then, so I wanted to create a recipe that brings everything crave-worthy about them to the vegan table. Just like my Gluten-Free Cinnamon Currant Scones this dairy-free scones recipe is also gluten-free. They have the same melt-in-your-mouth texture and taste amazing drizzled with an easy lemon glaze. In fact, my 28-year-old son, who was an eager taste-tester, had the same dreamy expression of his fair-going days, even after his third scone!

You may have a few questions about this gluten-free vegan scones recipes so here’s all the delicious details!
Where do I find culinary lavender?
Fortunately, lavender is pretty easy to find. You can purchase it from your natural grocer, spice shops, and in many chain stores like Whole Foods. It also pops up in farmers’ markets which is where I usually get mine. Double check that it’s culinary lavender and labeled for cooking to be sure you’re eating just the blossoms and not stems and leaves.
Popular varieties of edible lavender include sweet-smelling English, Hidcote, and Munstead, which is what’s pictured. Culinary lavender typically comes as whole blossoms that have been dried. You’ll want to grind the whole blossoms in a spice grinder, small coffee grinder, or a mortise and pestle for this recipe. This will evenly distribute the lavender throughout the scones, so you don’t get too much lavender in one bite.
Remember, a little goes a long way; 1 tablespoon of ground lavender blossoms is all you need in this recipe. Too much lavender will disappointingly taste like soap.

Tips for Flakey Melt-in-Your-Mouth Scones:
Gluten-free baking can be a little intimidating. I get it! There’s nothing more frustrating than expecting flakey, melt-in-your-mouth scones, and ending up with gummy or dry scones instead. Achieving crave-worthy texture boils down to getting the correct ratio of wet to dry ingredients. Too much liquid will result in gummy scones. Too much flour will result in dry scones. That being said, proceed with confidence, and follow these simple tips.
Use a kitchen scale- for accuracy. I highly recommend investing in a kitchen scale. They’re fairly inexpensive and will become a trusted friend in the kitchen. A scale also takes the guesswork out of measuring dry ingredients as measuring cups can vary in size from brand to brand.
To use a kitchen scale, set your measuring bowl on top, and press the zero/tare button to set the scale to zero. Then scoop your flour into the bowl. When you have the amount needed, press the zero/tare button again (a zero will show on the display) and scoop your powdered sugar in. Voila! Perfectly measured ingredients and no extra cups to wash!
Use the scoop and level method – if you don’t have a kitchen scale. Take a big spoon and scoop the flour into your measuring cup. It will fluff up as it falls into the cup. Then, use the flat end of a knife to scrape the excess flour off the top. Trust your measuring cups and adjust the texture of your dough, if needed, by adding a sprinkling of flour to sticky dough and a tablespoon or so of milk to dry dough.
Cold vegan butter – is essential for flakey/fluffy texture. Keep your butter in the fridge until you’re ready to cut it into the flour mixture. Vegan butter softens more quickly at room temperature than dairy-based butter so it can go straight from the fridge to your mixing bowl. This is especially handy when baking in a hot kitchen.
Work the butter mostly into the flour with a pastry cutter, leaving some chunks intact. You’ll end up with small bits of butter from the size of little crumbles to peas.

Ingredient Substitutions:
For the gluten lover in you, I’ve got you covered! Need it oil-free or refined sugar-free? No problem! Follow this easy guide for successful results.
For gluten-full scones, use 2½ cups (313 g) of regular all-purpose flour in place of gluten-free flour.
For oil-free scones, use ¾ cup (150 g) of cold/solid coconut cream (the solid part scooped from a can of chilled full-fat coconut milk) in place of vegan butter.
For fruit-sweetened scones, use ½ cup (72 g) of date sugar, in place of powdered sugar, and increase the almond milk to ¾ cup (6 oz).
For sweeter scones, use sweetened almond milk.

More gluten-free baking recipes to elevate your breakfast!
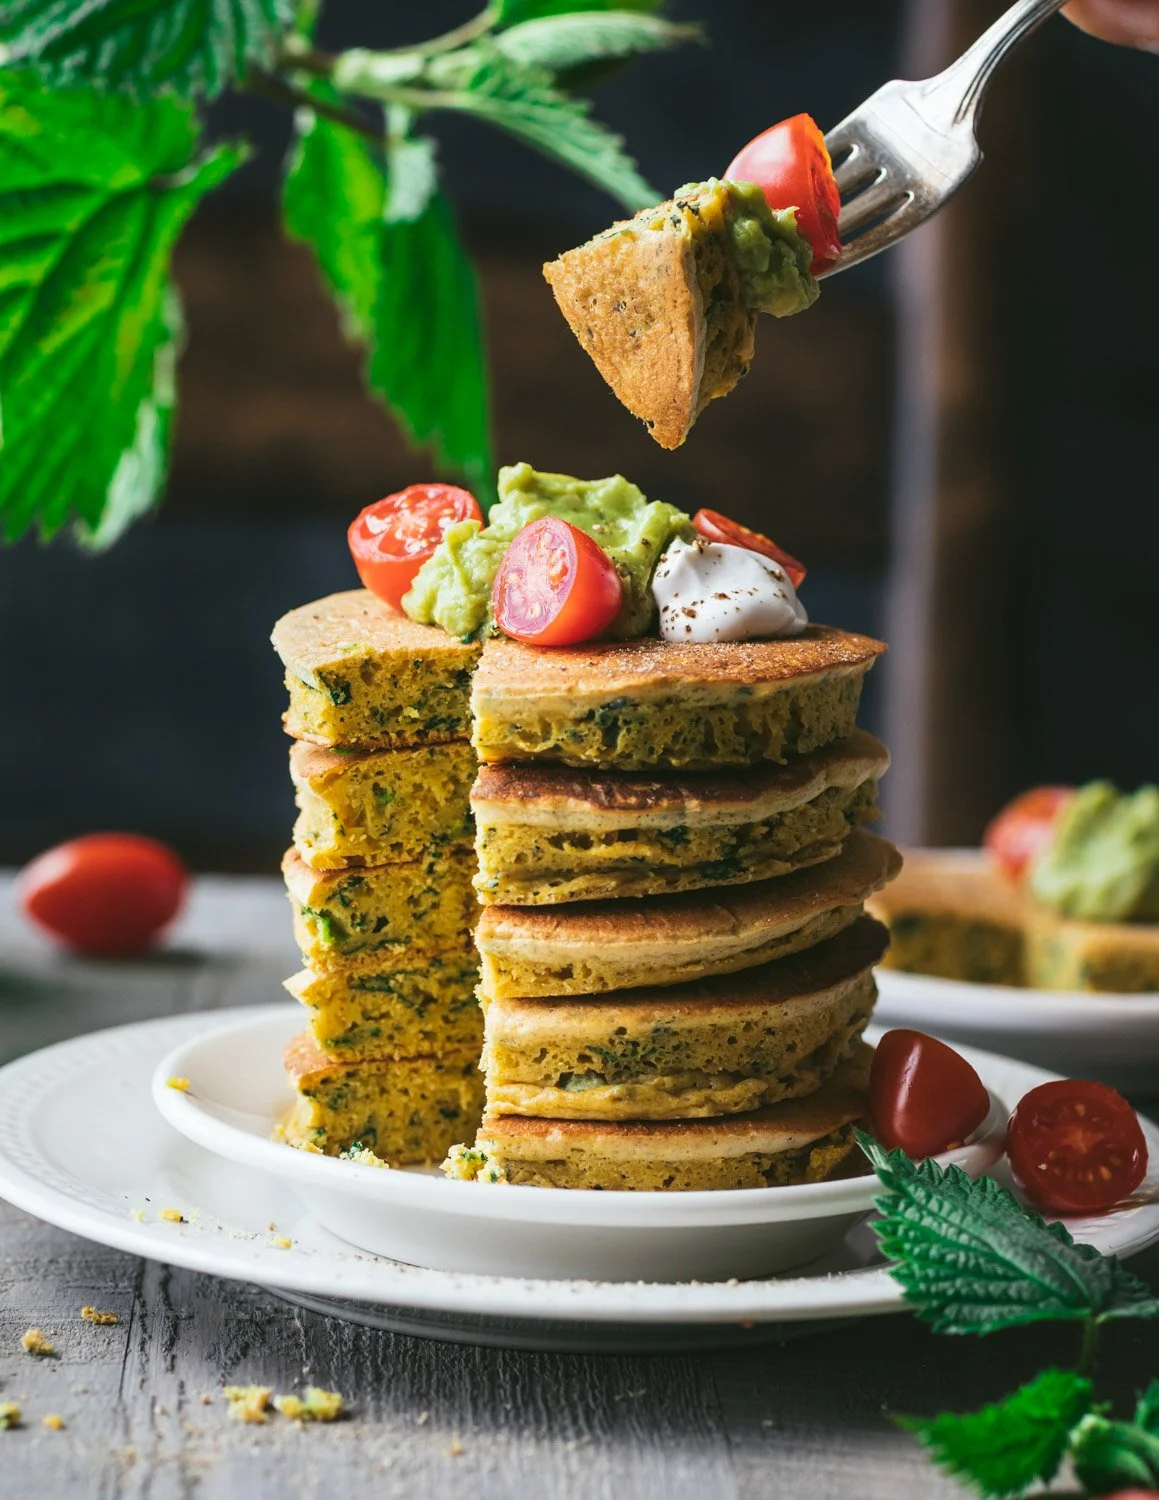
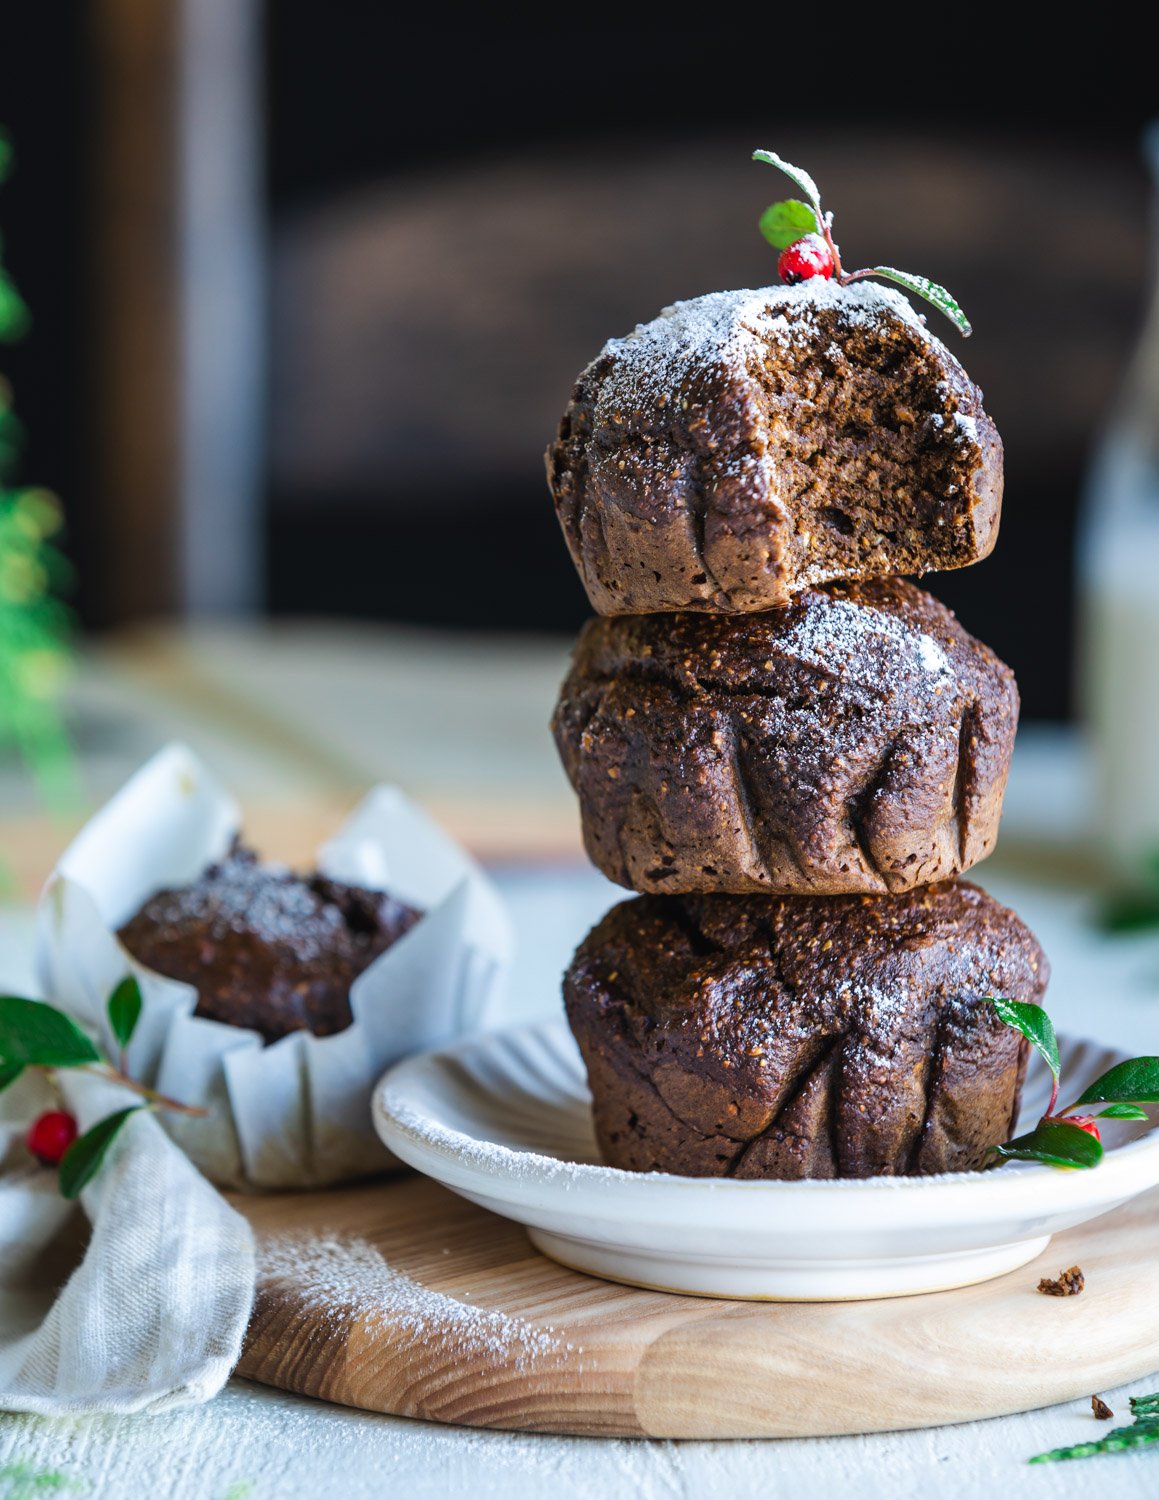
Vegan Pumpkin Spice Blender Muffins

Ingredients for Lemon Lavender Scones / Makes 8 Scones
1½ teaspoons (10 grams) of flaxseed meal (ground flax seed) whisked with 2 tablespoons of water
2½ cups (313 grams) of 1 to 1 gluten-free baking flour
½ cup (50 grams) of powdered sugar
1 tablespoon of ground dried culinary lavender
4 teaspoons of baking powder
½ teaspoon of fine sea salt
½ cup (4 oz) of almond milk (plus more for brushing the tops)
1 tablespoon of freshly squeezed lemon juice
1½ tablespoons of lemon zest
1 teaspoon of vanilla
¾ cup (6 oz.) of vegan butter (cold and cut into chunks)
1 tablespoon of granulated sugar for sprinkling on the tops (optional but recommended)
Easy Lemon Glaze
½ cup of powdered sugar whisked with
1 tablespoon of freshly squeezed lemon juice
How to make Lemon Lavender Scones


1. Preheat oven- to 425 F (220 C / gas mark 7). Line a baking sheet with parchment paper.
2. Create a flax egg- by energetically whisking the flaxseed meal and water with a fork or small whisk for around 30 seconds. Set it aside to gel.
3. Combine the dry ingredients- Place a medium-sized mixing bowl on a kitchen scale. Set the tare to zero. Scoop 313 g of flour into the bowl. Reset the scale to zero and then scoop 50 g of powdered sugar over the flour followed by the lavender, baking powder, and salt. If you don’t have a kitchen scale, scoop your flour and powdered sugar into measuring cups and level the top with the flat end of a knife. Whisk it all together.
4. Combine the wet ingredients- Pour the almond milk into a small bowl followed by the lemon juice, zest, and vanilla. Whisk in the flax egg until no lumps remain.


5. Cut the vegan butter into the flour- first cut the butter into chunks and plop them into the bowl with the flour mixture. Using a pastry blender or two knives, scissor-style, work the butter into the flour until you have a coarse crumbly texture with some pea-size lumps.
6. Combine the wet and dry ingredients- Pour ¼ of the milk mixture over the flour mixture. Use a fork to lift the flour up from the bottom of the bowl to help the milk saturate the flour. Repeat this with the rest of the milk, mixing and fluffing as you go. Now use your hands to gently knead the dough so all the flour is worked in, and you can shape it into a tidy ball.

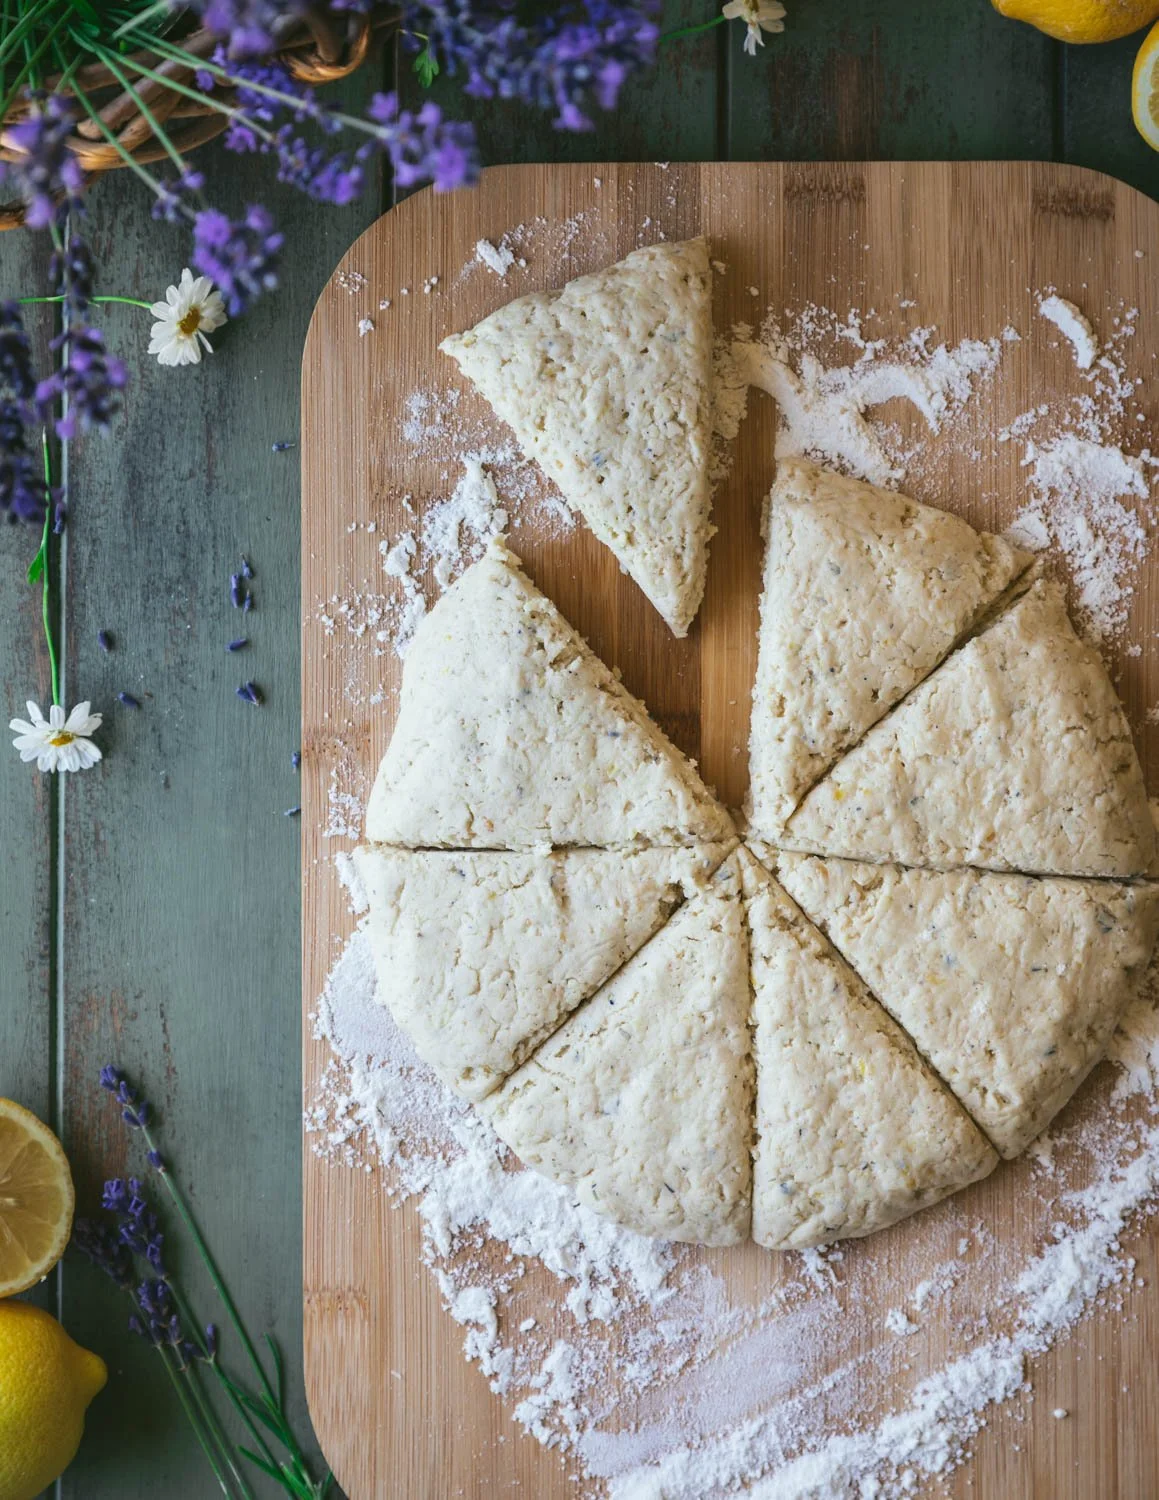


7. Sprinkle your work surface lightly with flour. Shape the dough into a disk that is 7-8” across and ¾-1” thick. Cut the disk into 8 equal-sized triangles by cutting the disk in half, rotating it, and cutting it in half again. Repeat this one more time. (It will look like a wagon wheel.)
8. Transfer the scones to a baking sheet- using a spatula. Brush the tops with almond milk so they look shiny. Sprinkle with granulated sugar.
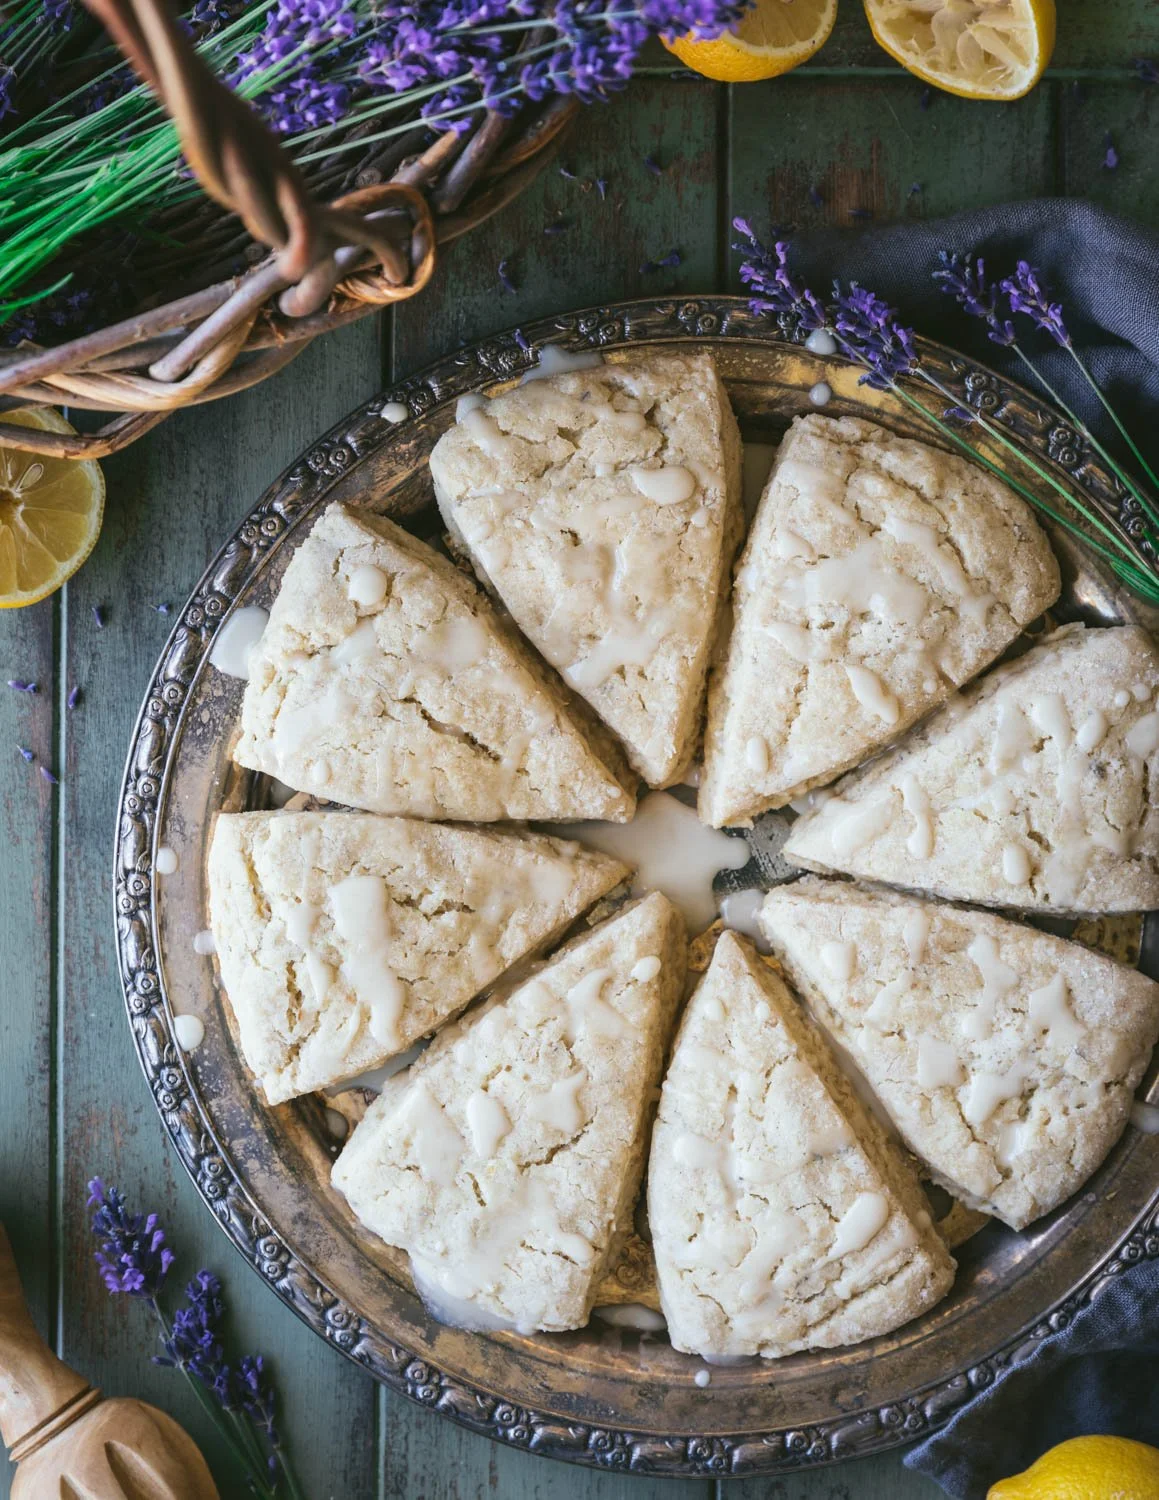
9. Bake- for 20 minutes. Let them cool completely then drizzle the tops with easy lemon glaze by dipping a fork into the glaze and zigzagging the stream over the scones.
Storage: Scones taste freshest when eaten within a day or two of baking. Store in an airtight container for up to a week. Gently reheat in the microwave for 10-20 seconds to enjoy warm.

If you like this recipe, please leave a 5-star rating on the recipe card below. Your ratings and comments mean the world to me, thank you!
And, receive a gorgeous FREE e-cookbook by subscribing to my newsletter! Click here for delicious weekly recipes and your e-cookbook.

Lemon Lavender Scones / Vegan, Gluten-Free
Ingredients
Instructions
- Preheat oven- to 425 F (220 C / gas mark 7). Line a baking sheet with parchment paper.
- Create a flax egg- by energetically whisking the flaxseed meal and water with a fork or small whisk for around 30 seconds. Set it aside to gel.
- Combine the dry ingredients- Place a medium-sized mixing bowl on a kitchen scale. Set the tare to zero. Scoop 313 g of flour into the bowl. Reset the scale to zero and then scoop 50 g of powdered sugar over the flour followed by the lavender, baking powder, and salt. If you don’t have a kitchen scale, scoop your flour and powdered sugar into measuring cups and level the top with the flat end of a knife. Whisk it all together.
- Combine the wet ingredients- Pour the almond milk into a small bowl followed by the lemon juice, zest, and vanilla. Whisk in the flax egg until no lumps remain.
- Cut the vegan butter into the flour- first cut the butter into chunks and plop them into the bowl with the flour mixture. Using a pastry blender or two knives, scissor-style, work the butter into the flour until you have a coarse crumbly texture with some pea-size lumps.
- Combine the wet and dry ingredients- Pour ¼ of the milk mixture over the flour mixture. Use a fork to lift the flour up from the bottom of the bowl to help the milk saturate the flour. Repeat this with the rest of the milk, mixing and fluffing as you go. Now use your hands to gently knead the dough so all the flour is worked in, and you can shape it into a tidy ball.
- Sprinkle your work surface lightly with flour. Shape the dough into a disk that is 7-8” across and ¾-1” thick. Cut the disk into 8 equal-sized triangles by cutting the disk in half, rotating it, and cutting it in half again. Repeat this one more time. (It will look like a wagon wheel.)
- Transfer the scones to a baking sheet- using a spatula. Brush the tops with almond milk so they look shiny. Sprinkle with granulated sugar.
- Bake- for 20 minutes. Let them cool completely then drizzle the tops with easy lemon glaze by dipping a fork into the glaze and zigzagging the stream over the scones.
Notes
Storage: Scones taste freshest when eaten within a day or two of baking. Store in an airtight container for up to a week. Gently reheat in the microwave for 10-20 seconds to enjoy warm.
For step-by-step instructions and photos, see blog post!
Nutrition Facts
Calories
315.67Fat (grams)
18.89Sat. Fat (grams)
10.95Carbs (grams)
36.3Fiber (grams)
4.12Net carbs
32.03Sugar (grams)
8.87Protein (grams)
4.22Sodium (milligrams)
514.9Cholesterol (grams)
45.76Nutritional information is provided as a courtesy and is an estimate only. This information comes from online calculators.