
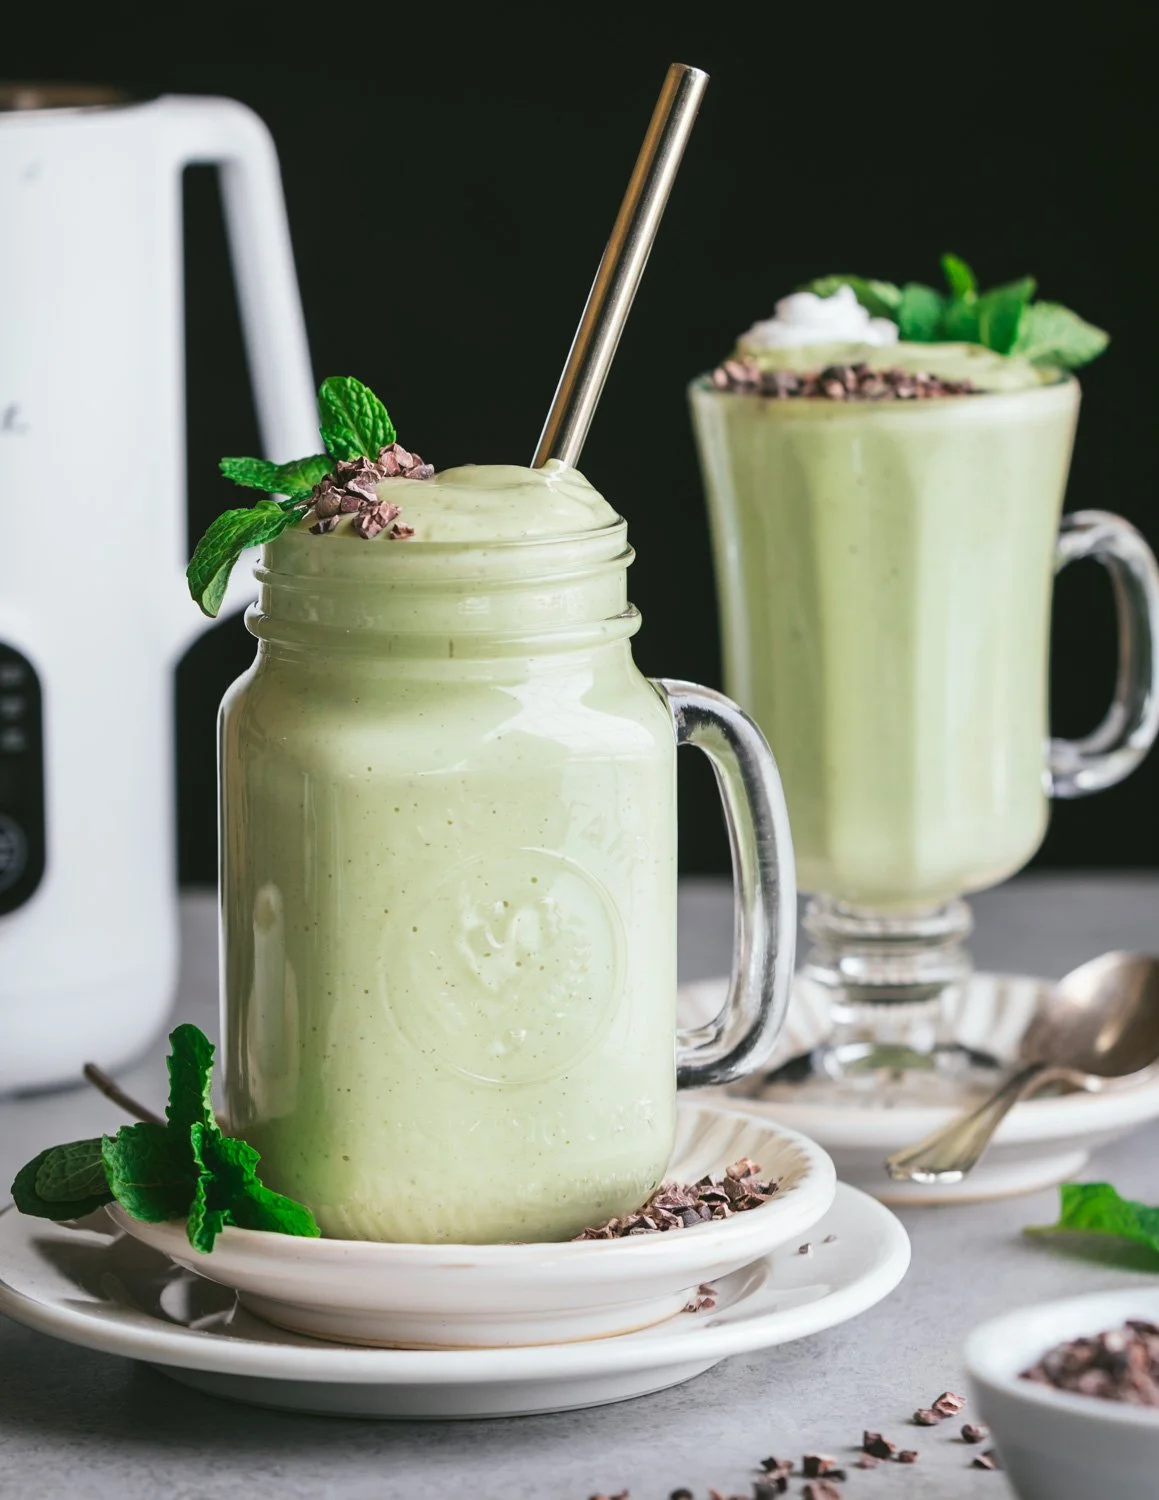
Healthy Shamrock Shake Recipe
Healthy Shamrock Shake Recipe / Dairy-Free
This dairy-free Healthy Shamrock Shake recipe is refreshing with a clean mint taste and just the right amount of sweetness. It’s full of healthy ingredients like hemp seeds and avocado that will satisfy your tummy and your sweet tooth! Made with just 8 ingredients and ready in 5 minutes!

I’m a total sucker for anything mint and chocolate. Just the words “mint chip” can snap me out of a bad day and make me do a little happy dance (and make my mouth water)! While the temptation to dive into a fully loaded Shamrock Shake around St. Patty’s Day is real, you can be sipping on this minty miracle in the time it takes to throw a few ingredients into a blender.

Okay, so, it’s healthy, but how does it taste?
My goal was to create a shake that was super creamy, just like a milkshake, full of healthy fats to make it satisfying and, of course, it needed to have a nice blend of mint and vanilla flavor. The natural green color from the avocados is a bonus! This healthy version tastes like a decadent mint milkshake without any suspicious ingredients or the food coma that usually follows the drive-through experience at the golden arches.
What’s in this Healthy Shamrock Shake Recipe?
Avocado and Hemp Seeds
The great thing about avocados and hemp seeds is that they have a very mild taste but blend up super rich and creamy. This makes the perfect thick base for adding mint and vanilla extracts. When you take a sip, you think “Wow this is sweet and minty” not “Oh, I’m eating vegetables and seeds.”!
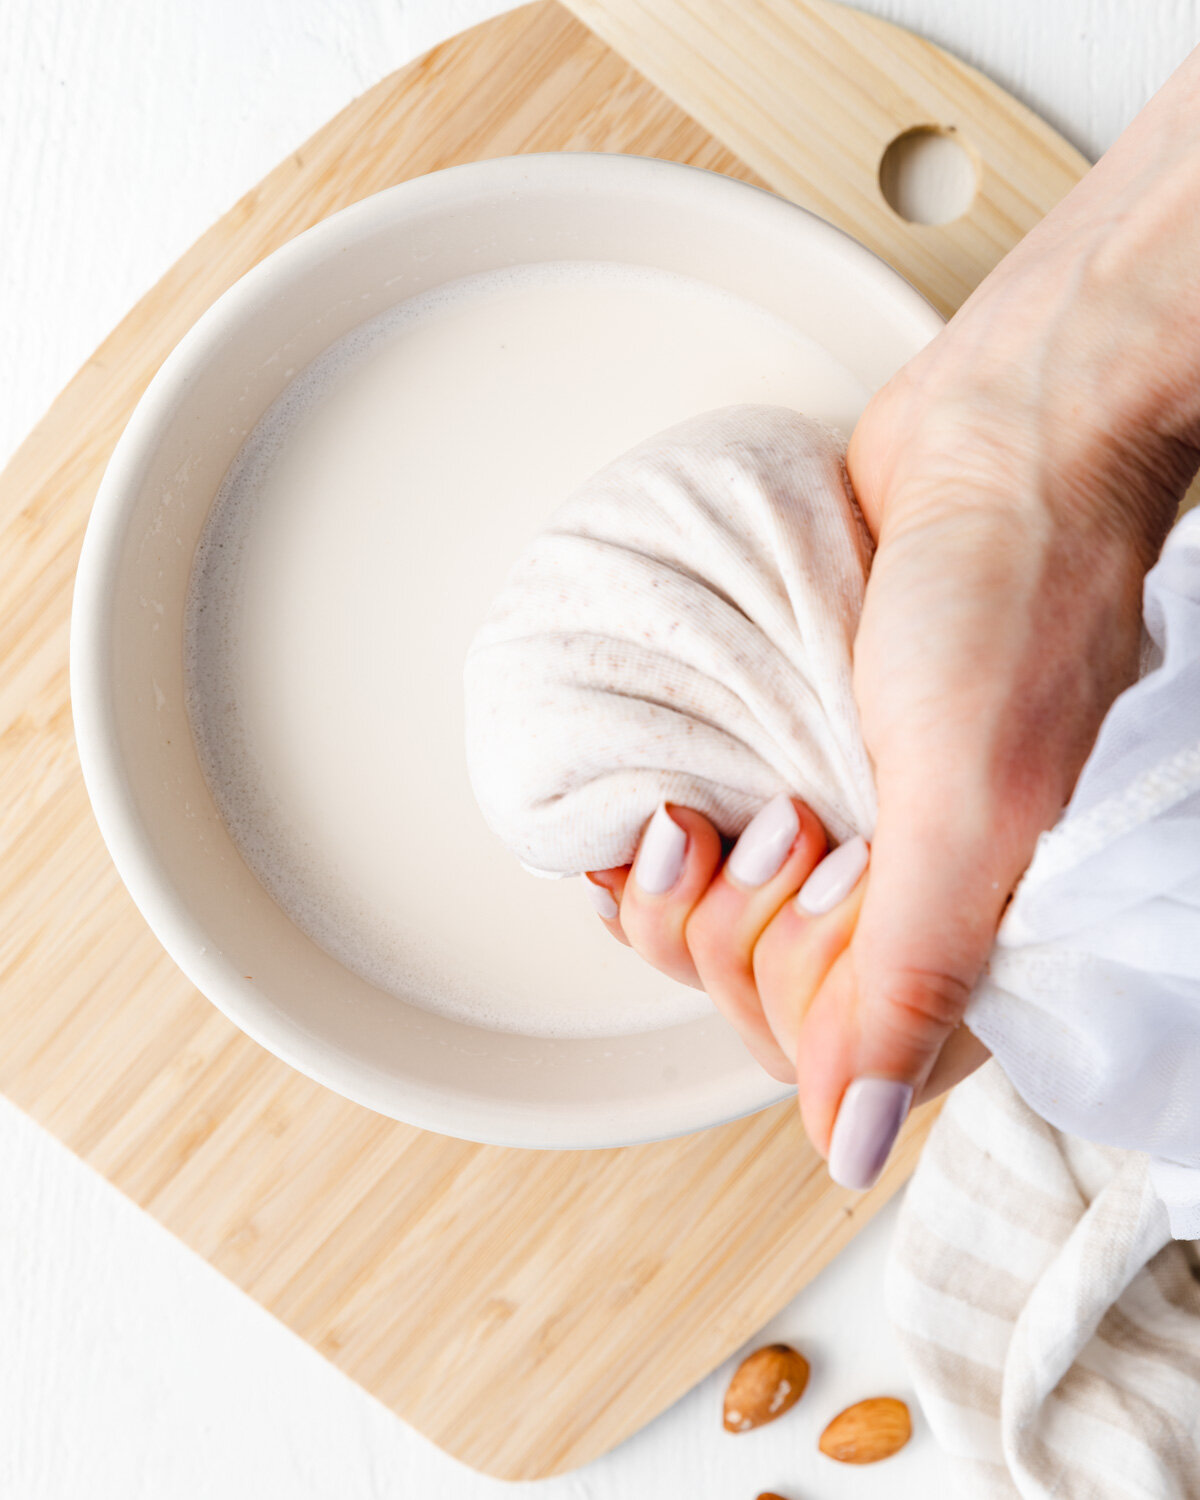
Use shelled hemp seeds or hemp hearts which is the whole seed without the outer shell and ripe avocados in this recipe.
Healthy Sweetener
I chose agave syrup for its clean, sweet flavor. This low glycemic sweetener lets the mint flavor really shine. You can use maple syrup if you like, but you will taste the maple flavor a bit.
Cacao Nibs
These little powerhouses are small pieces of crushed cacao beans and have an amazing chocolate flavor and crunch. They are a great healthy stand-in for mini chocolate chips. In fact, I tested this recipe with chocolate chips and preferred the complex flavor of the cacao nibs!

If you’re a mint lover like me, you gotta try this Healthy Shamrock Shake Recipe! It’s:
Lightly sweet
Thick and creamy
Full of minty flavor
Quick
Easy
Dairy-Free
Satisfying
Rich and delicious

Keep scrolling for step-by-step instructions and photos!
Ingredients for Healthy Shamrock Shake Recipe

2 cups (16 oz) cold water
2 medium ripe avocados
½ cup (80g) of shelled hemp seeds
¼ cup (2 oz) agave
½ teaspoon of mint extract
½ teaspoon of vanilla
A pinch of fine sea salt
1 tablespoon of cacao nibs for topping
Makes 2 servings
How to make Healthy Shamrock Shake Recipe

Step 1:
1. Add the water, avocado, hemp seeds, agave, mint and vanilla extracts, and salt to a blender.

Step 2:
2. Secure the lid and blend, at high speed, until completely smooth. This takes about a minute in a high-powered blender but may take longer depending on what type of blender you’re using.


Step 3:
3. Pour into your favorite glass and top with cacao nibs and a mint leaf!
This recipe is perfect to enjoy around St. Patrick’s Day or anytime you’re craving a mint milkshake!

Other quick, easy, and healthy desserts to fall in love with!
3 Ingredient Chocolate Covered Chickpea Clusters
If you like this recipe, please leave a 5-star rating on the recipe card below. I always appreciate your feedback and hearing about your creations! For more yummy vegan recipes, you can also follow along on Instagram, Pinterest, Facebook, and Tiktok. I also send out a weekly newsletter with my latest recipes and upcoming cooking classes. Subscribe here to receive a FREE e-cookbook!

Healthy Shamrock Shake Recipe / Dairy-Free
Ingredients
Instructions
- Add the water, avocado, hemp seeds, agave, mint and vanilla extracts, and salt to a blender.
- Secure the lid and blend, at high speed, until completely smooth. This takes about a minute in a high-powered blender but may take longer depending on what type of blender you’re using.
- Pour into your favorite glass and top with cacao nibs and a mint leaf!
Nutrition Facts
Calories
526.43Fat (grams)
39.26 gSat. Fat (grams)
6.42 gCarbs (grams)
42.02 gFiber (grams)
14.86 gNet carbs
27.15Sugar (grams)
21.18 gProtein (grams)
9.42 gSodium (milligrams)
93.11 mgCholesterol (grams)
0.09 gNutritional information is provided as a courtesy and is an estimate only. This information comes from online calculators.


")


")