Chocolate Chia Pudding
Chocolate Chia Pudding tastes sinfully delicious made with wholesome ingredients like coconut milk, chia seeds, and cocoa powder. It’s the perfect make ahead treat that’s secretly healthy. Enjoy this vegan and gluten-free recipe for breakfast, snack, or dessert!

For years I’ve been mixing chia seeds with coconut water as a fuel before long runs. The chia seeds release sustained energy that rivals any energy gel I’ve ever tried. While I’m a fairly new arrival to the vegan chia pudding scene, the chia seed/coconut idea works in the same way. Whisk chia seeds, cocoa, maple syrup, and coconut milk, and it will magically thicken. How does it taste? Addictively delicious, like a rich milk chocolate bar in creamy pudding form.
While this chocolate chia pudding recipe looks like an indulgent dessert (and tastes like one too!), it’s healthy enough to be eaten for breakfast, tucked into your kid’s lunch, or enjoyed as a pick-me-up snack. All the ingredients are pantry friendly, and it comes together in under 5 minutes, before chilling. Does all this sound too good to be true? As a serious fan, I promise it is! So, let’s unpack this saintly miracle that tastes sinfully delicious.

What’s in Chocolate Chia Pudding?
There’s 6 ingredients in this 5-minute recipe and each one of them is a rock star. All can be kept in your pantry and are naturally gluten-free.
Lite coconut milk- that comes in a can and not a carton, chills to the *perfect* pudding consistency. Full fat coconut milk becomes very thick when chilled (like spoon standing straight up in the bowl thick) and regular plant-based milk will turn out soupy.
Just be sure to give your milk a stir after, opening the can, to mix the cream with the liquid.
Chia seeds- these small but mighty powerhouses magically turn any liquid into a gel-like substance.
Dutch cocoa powder- for the richest chocolate taste. It’s a bit pricier than natural cocoa powder but delivers a more mellow flavor and dissolves easily into liquids.
Maple syrup- for refined sugar-free sweetness with a touch of caramel flavor.
Vanilla- balances the cocoa for a pure chocolate flavor.
Fine sea salt- to marry all the flavors together and make them pop!

If you want to take it to next level healthy or make a raw vegan chia seed pudding, use:
Raw cacao powder- in place of Dutch cocoa for cacao chia pudding.
Date syrup- in place of maple syrup for a fully fruit sweetened treat.

Tip from the hip:
If you just can’t get past the frog egg appearance or texture of whole chia seeds, plop all your ingredients in a blender and blend at high speed until completely smooth. This may take a minute or more, depending on what type of blender you’re using. Then spoon the pudding into jars. It will thicken almost immediately when blended so you can eat it right away or choose to put it in the fridge to chill and thicken even more. Just be aware that blended chia seeds release a more pronounced chia seed flavor.

After my last long run I hurried into the kitchen and grabbed two(!) jars of chocolate chia seed pudding and immediately ate them back-to-back with no regrets! Here’s why you’ll love this recipe too:
Secretly Healthy- vegan, dairy-free, gluten-free, refined sugar-free
Low effort- plop all the ingredients into a bowl, whisk, and chill.
Tastes indulgent- just like a rich milk chocolate bar!
Sustained energy- thanks to small but mighty chia seeds
Thick and creamy- from lite coconut milk
Onto the recipe! Here’s everything you need to make Chocolate Chia Pudding

Ingredients / Makes two servings
1 cup of lite coconut milk, stirred until no lumps remain (from a can not a box)
3 tablespoons of chia seeds
3 tablespoons of Dutch cocoa powder
3 tablespoons of maple syrup
1 teaspoon of vanilla
1/8 teaspoon of fine sea salt
How to make Chocolate Chia Pudding


1. Pour the lite coconut milk into a medium-sized mixing bowl followed by the rest of the ingredients.
2. Whisk until all the cocoa powder lumps are mixed in with the chia seeds and it looks like thick hot chocolate.
3. Pour into 2 glass jars.
4. Place jars in the fridge to chill and thicken- 4 hours or overnight.
Storage: Chia pudding will stay fresh in the fridge for 4-5 days.

More easy vegan desserts you’ll love!
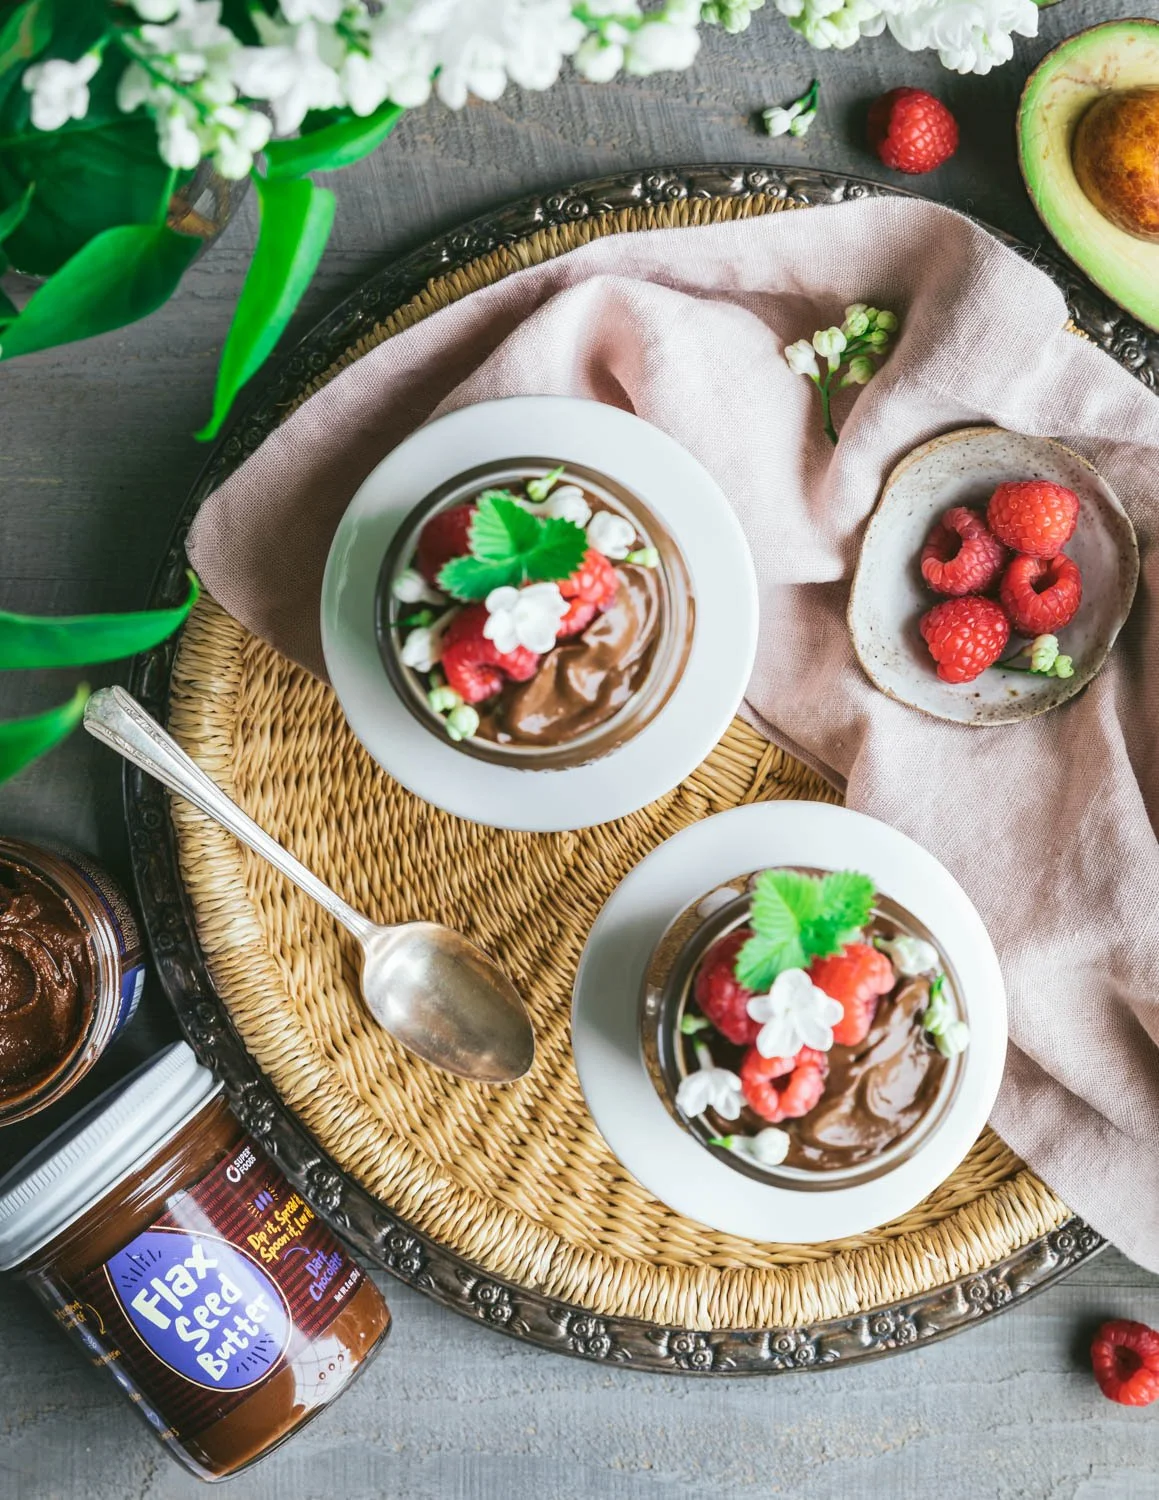
Vegan Avocado Chocolate Mousse


Chocolate Chia Pudding
Ingredients
Instructions
- Pour the lite coconut milk into a medium-sized mixing bowl followed by the rest of the ingredients.
- Whisk until all the cocoa powder lumps are mixed in with the chia seeds and it looks like thick hot chocolate.
- Pour into 2 glass jars.
- Place jars in the fridge to chill and thicken- 4 hours or overnight.
Notes
Storage:
Chia pudding will stay fresh in the fridge for 4-5 days.
For step-by-step instructions and photos, see blog post!
Nutrition Facts
Calories
274.67Fat (grams)
13.23Sat. Fat (grams)
7.87Carbs (grams)
35.73Fiber (grams)
8.96Net carbs
26.75Sugar (grams)
18.36Protein (grams)
4.45Sodium (milligrams)
236Cholesterol (grams)
0Nutritional information is provided as a courtesy and is an estimate only. This information comes from online calculators.