
Vegan Gingerbread Blender Muffins
Vegan Gingerbread Blender Muffins / Gluten & Oil-Free
Take the stress out of holiday baking with these delicious moist, cakey, and warmly spiced Vegan Gingerbread Blender Muffins. They’re gluten-free, oil-free, and made with wholesome ingredients you can feel good about eating.

This is a sponsored post written by me on behalf of O3 Superfoods. The opinions, text, and recipe are my own creation. Thank you so much for creating the ultimate flax butter and for the support!
Christmas is less than 2 weeks away! Wasn’t it just Thanksgiving and is anyone else slightly panicked?! When thinking about how I’m going to feed a houseful without cooking from dawn to dusk, I rely on a no-fail recipe…and my freezer.
Say “hello” to Vegan Gingerbread Blender Muffins! Just like my Vegan Pumpkin Spice Blender Muffins, these babies are cakey, super moist, and loaded with warm holiday spices. They’re also secretly healthy made with flax butter. Flax butter is a great option for folks with nut allergies and works beautifully in any recipe that calls for nut butter or seed butter. Flax butter makes these muffins especially moist.

These irresistible muffins are also freezer-friendly, so you can whip up a batch, stash them in the freezer, and pull them out for a cozy festive breakfast. You’ll feel like a hero in your own story and maybe be able to sleep in!

Ready to make the most delicious and healthy gingerbread muffins?
Keep scrolling for tips on gluten-free baking and making your own tulip-style muffin cups!

Here’s my tips and tricks for creating fantastic gluten-free vegan blender muffins:
1. Measure accurately
It’s important, in gluten-free baking, to get your wet to dry ingredient ratio correct for a moist, but not gummy, texture. To do this, I recommend using a kitchen scale to measure the oats. I place my blender container right on the scale before measuring. If you don’t have a kitchen scale, trust your equipment, and measure as carefully as you can.
2. Minimal blending time
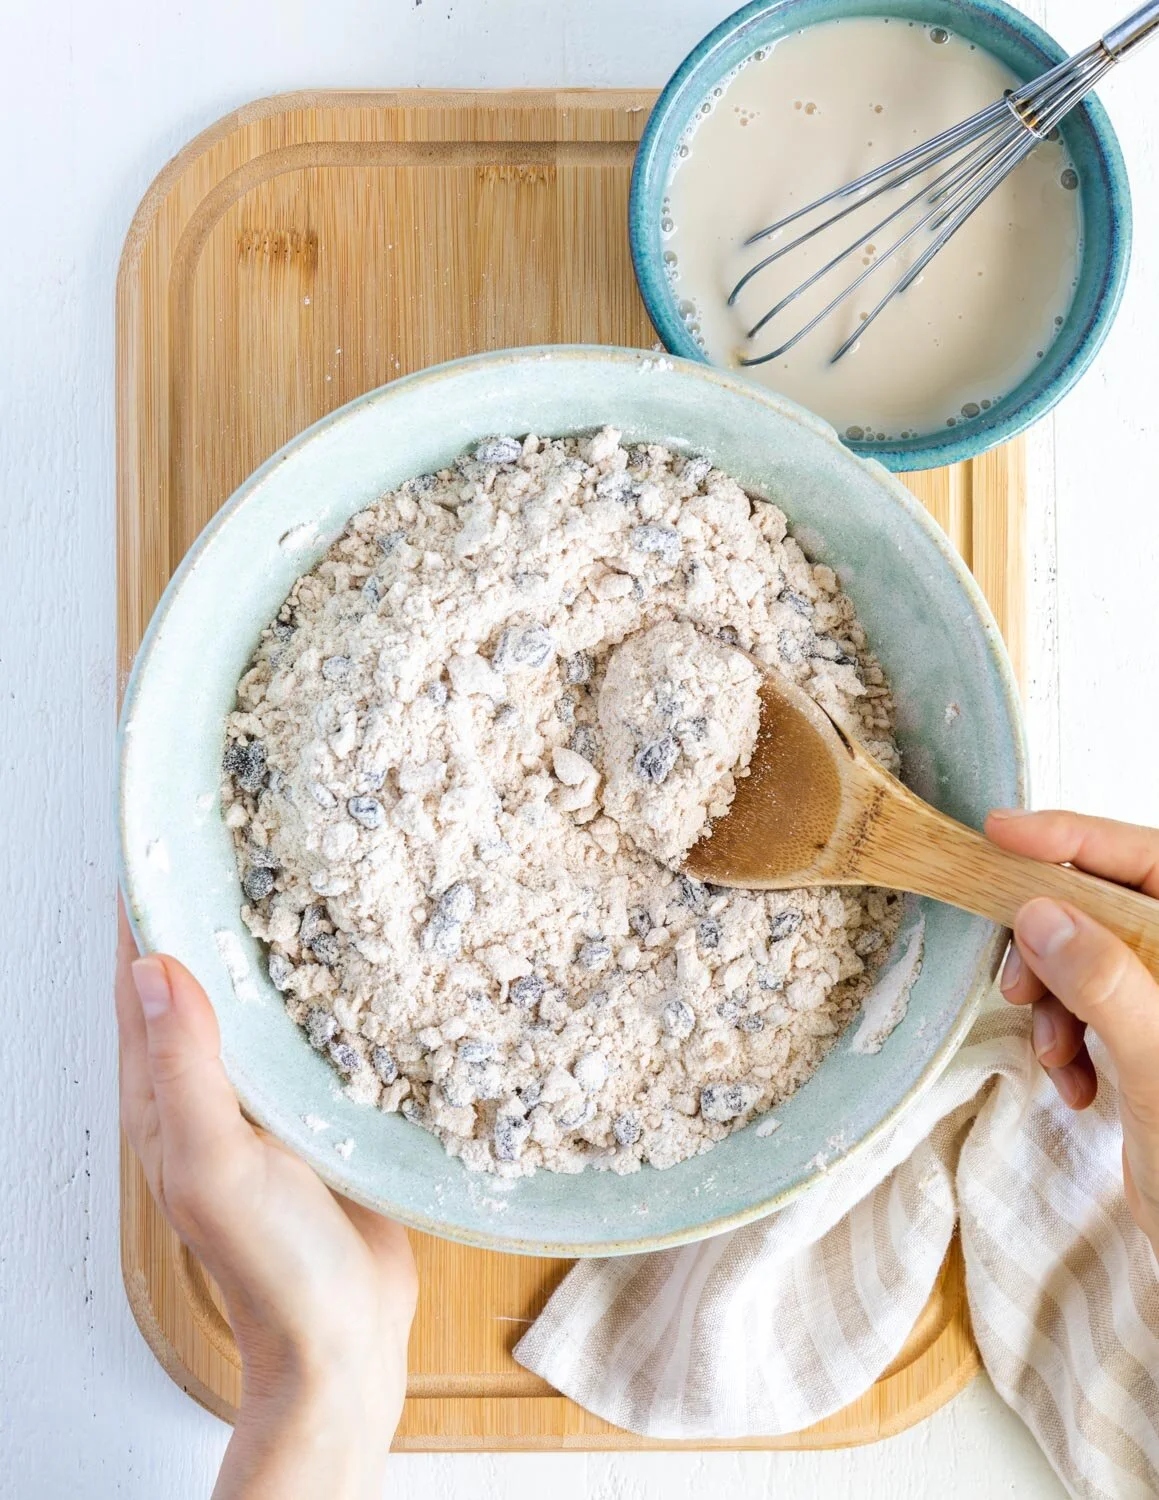
Oats become gummy when mixed with a liquid and blended for a long time. (think oatmeal) You can blend dry oats for as long as you need to make oat flour. But, once the wet ingredients are added, blend just long enough to combine them. (about 15 seconds) The blender needs a little help to get started, so use a soft spatula to reach into the corners of the container and pull the dry ingredients into the wet ingredients before turning on the motor.

3. Muffin cups
There’s nothing more disappointing than losing half of your muffin to the muffin cup. Using parchment paper to make your own tulip-style cups or using non-stick muffin cups will keep you and your muffins whole and happy. See how I make homemade muffin cups below.
4. Baking time
It’s so helpful to see if your oven is at the right temperature before baking. If you have a new oven, the digital display should be accurate. If you have an old oven (like me!) an oven thermometer is truly a baker’s best friend. Just be sure to pre-heat your oven to the correct temperature before sliding the muffins in. Bake 6 jumbo muffins, as in this recipe, for 30 minutes. Bake regular-sized muffins for 20 minutes. You’ll know they’re done when a toothpick inserted into the middle comes out clean.
5. Cooling time
After removing the muffins from the oven, pluck them out of their tins and place them on a wire rack to cool. Do not let them cool in the tins. This is because condensation will form in the bottom of the tin as they cool, making the muffins soggy.

How to make your own tulip-style muffin cups
For jumbo muffin cups
Cut a 5” square piece of parchment paper. Fold the paper in half and then in half again, so there is a plus sign on the square. This helps you find the middle. Press the paper into the muffin tin with the middle of the square in the middle of the cup. Using your fingers, mold the paper into the shape of the tin. The paper will fold and wrinkle as you go creating “petals” that stick out of the tin like a tulip. Make 6 cups for a jumbo muffin tin.

For standard muffin cups
Cut a 4” square piece of parchment paper and then follow the same instructions as for jumbo muffin cups. Make 12 cups for 2 standard muffin tins.

These Vegan Pumpkin Spice Blender Muffins are:
Cakey and moist
Healthy
Perfectly spiced
Jumbo-sized
Gluten & oil-free
Easy to make
Festive
I can’t wait to surprise my family with these deliciously spiced, festive muffins and I hope you enjoy the recipe for the holidays too!

Keep scrolling for step-by-step instructions with photos!
Ingredients for Vegan Gingerbread Blender Muffins
Dry Ingredients:

2 cups (180 grams) of regular rolled oats (gluten-free if needed)
¼ cup of date sugar
2 teaspoons of baking powder
2 teaspoons of ginger root powder
1 teaspoon of cinnamon
½ teaspoon of fine sea salt
¼ teaspoon of nutmeg
Wet Ingredients:

1 cup of very ripe banana pulp
½ cup (4oz.) of blackstrap molasses, unsulphured
¼ cup (2oz.) of O3 Superfoods Flax Butter (see note)
2 teaspoons of vanilla
Note: If you don’t have flax butter on hand, use almond butter.
How to make Gingerbread Blender Muffins

Steps 1-2:
1. Pre-heat oven to 375 F / 190 C, gas mark 5. Next, line 6 jumbo muffin cups with parchment paper (see blog post for tips on how to do this) or non-stick muffin liners.
2. Add all of the dry ingredients to a blender container, securely attach the lid, and blend at medium to high speed (depending on how powerful your blender is) for about 30 seconds, or until the oats have turned into a coarse flour. You will have to stop a few times and shake the oat flour mixture so it can re-settle over the blade.
Steps 3-4:
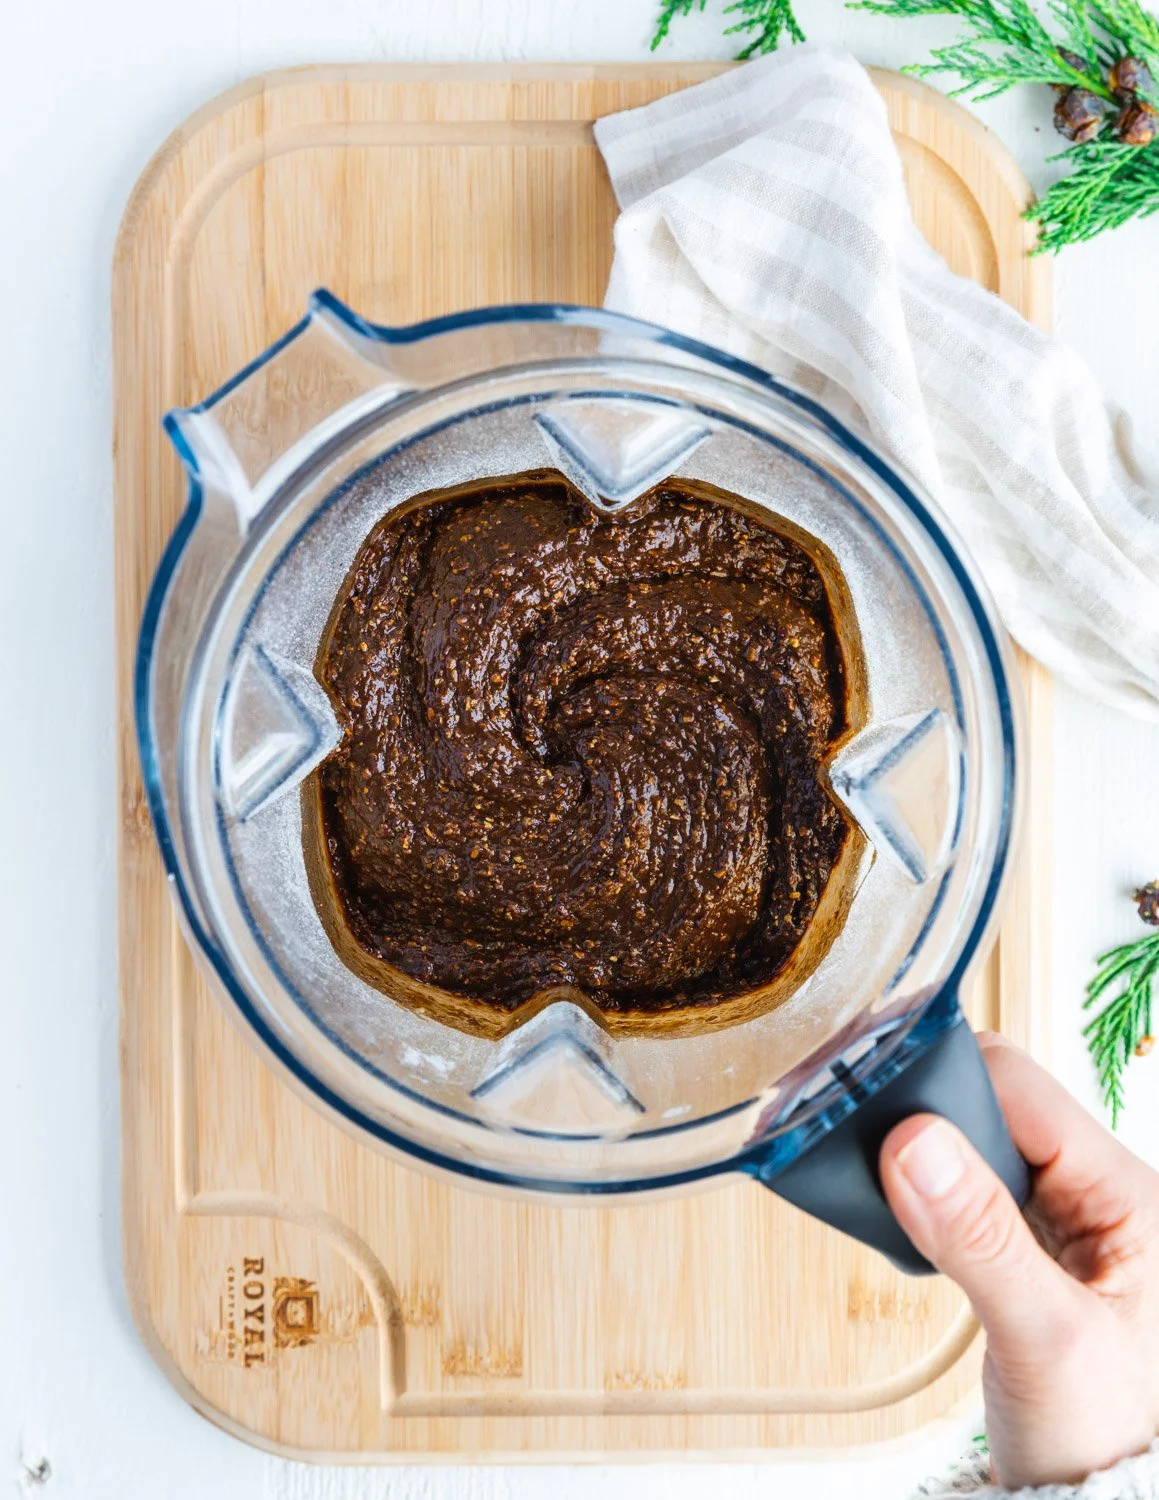
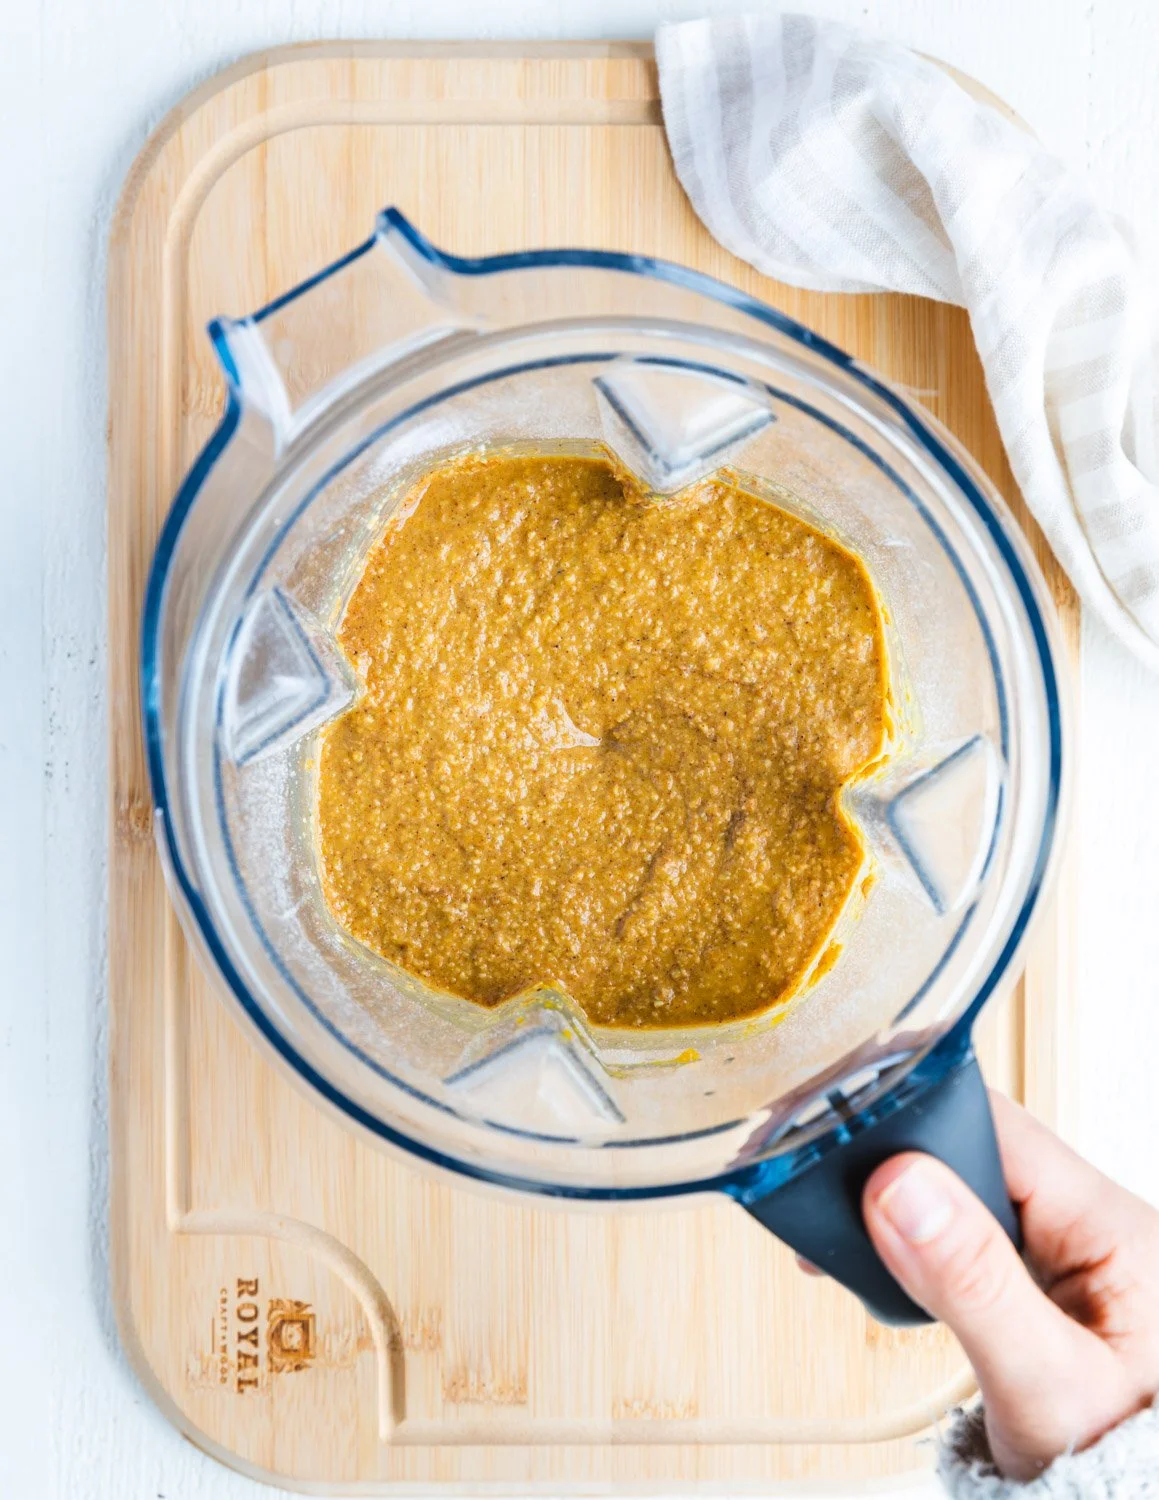
3. Mash up 2 very ripe bananas and measure out 1 cup. Add the bananas and the rest of the wet ingredients to the flour mixture. Using a soft spatula, give the mixture a stir, reaching down into the corners of the blender container, to help the wet and dry ingredients blend efficiently.
3. Securely attach the lid and blend for about 15 seconds only on medium speed, blending until the ingredients are just combined and smooth. You may have to stop and scrape down the sides of the container or use a tamper to push the batter towards the blade. Minimal blending time prevents the oats from becoming gummy.

Step 5:
5. Scoop 1/3 cup of batter into each of the 6 jumbo muffin cups. Round out the tops with any leftover batter. Place in the middle of your pre-heated oven and bake for 30 minutes. You’ll know they are done when a toothpick inserted into the muffin comes out clean. For standard-sized muffins, scoop ¼ cup of batter into each cup, and bake for 20 minutes.

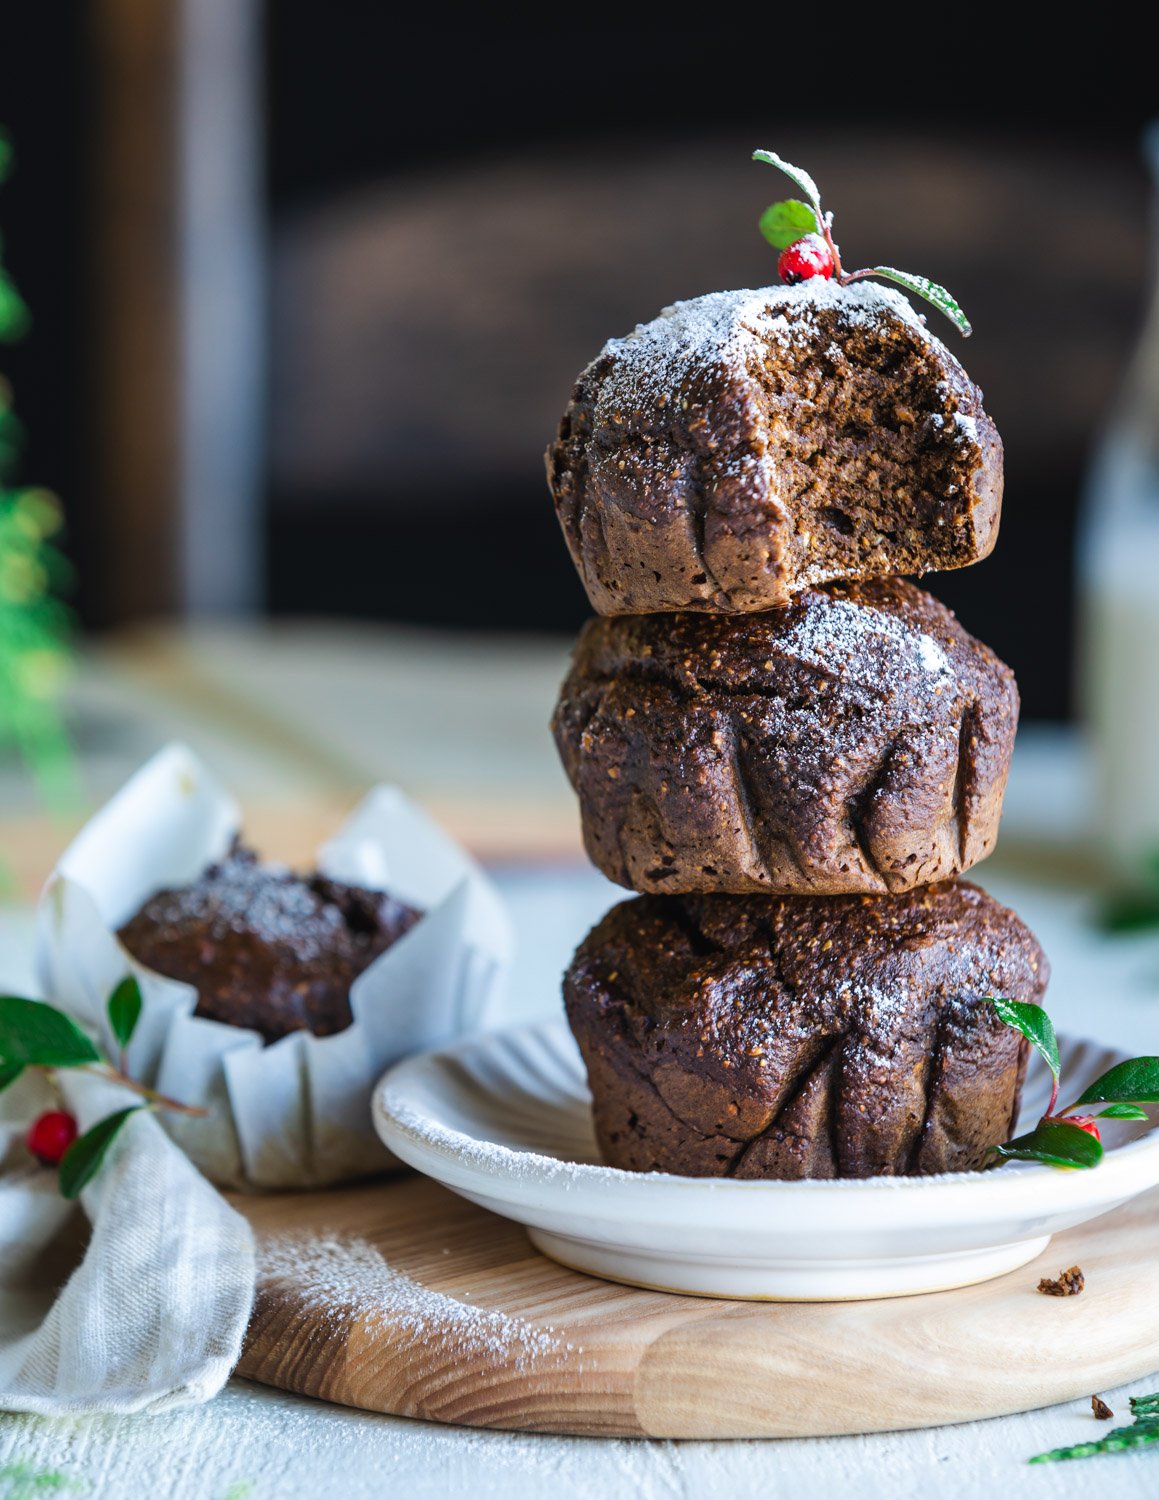
Step 6:
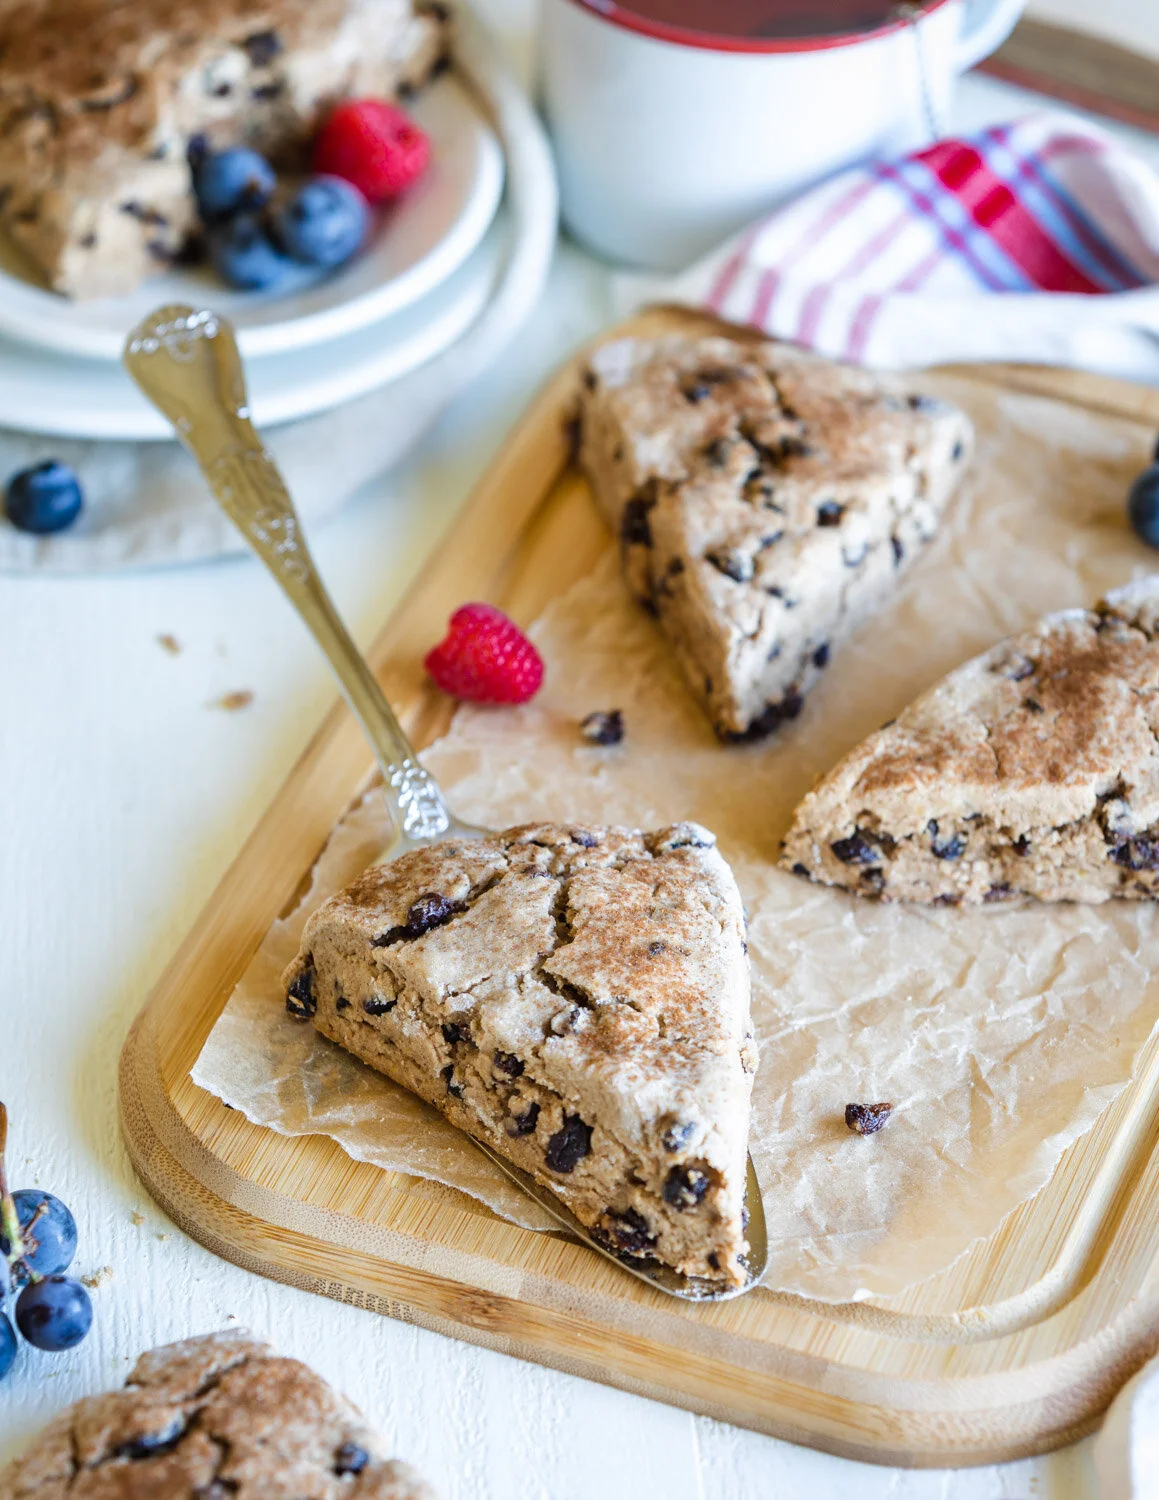
6. Pluck the muffins out of the tin and transfer them to a wire rack. Sprinkle with powdered sugar (or date sugar) for a festive touch! Let cool 15 minutes before eating for best texture
Storage
Store completely cooled muffins in an airtight container for up to 5 days or individually wrapped in the freezer for 3 months.

More gluten-free baking recipes to warm up your kitchen!
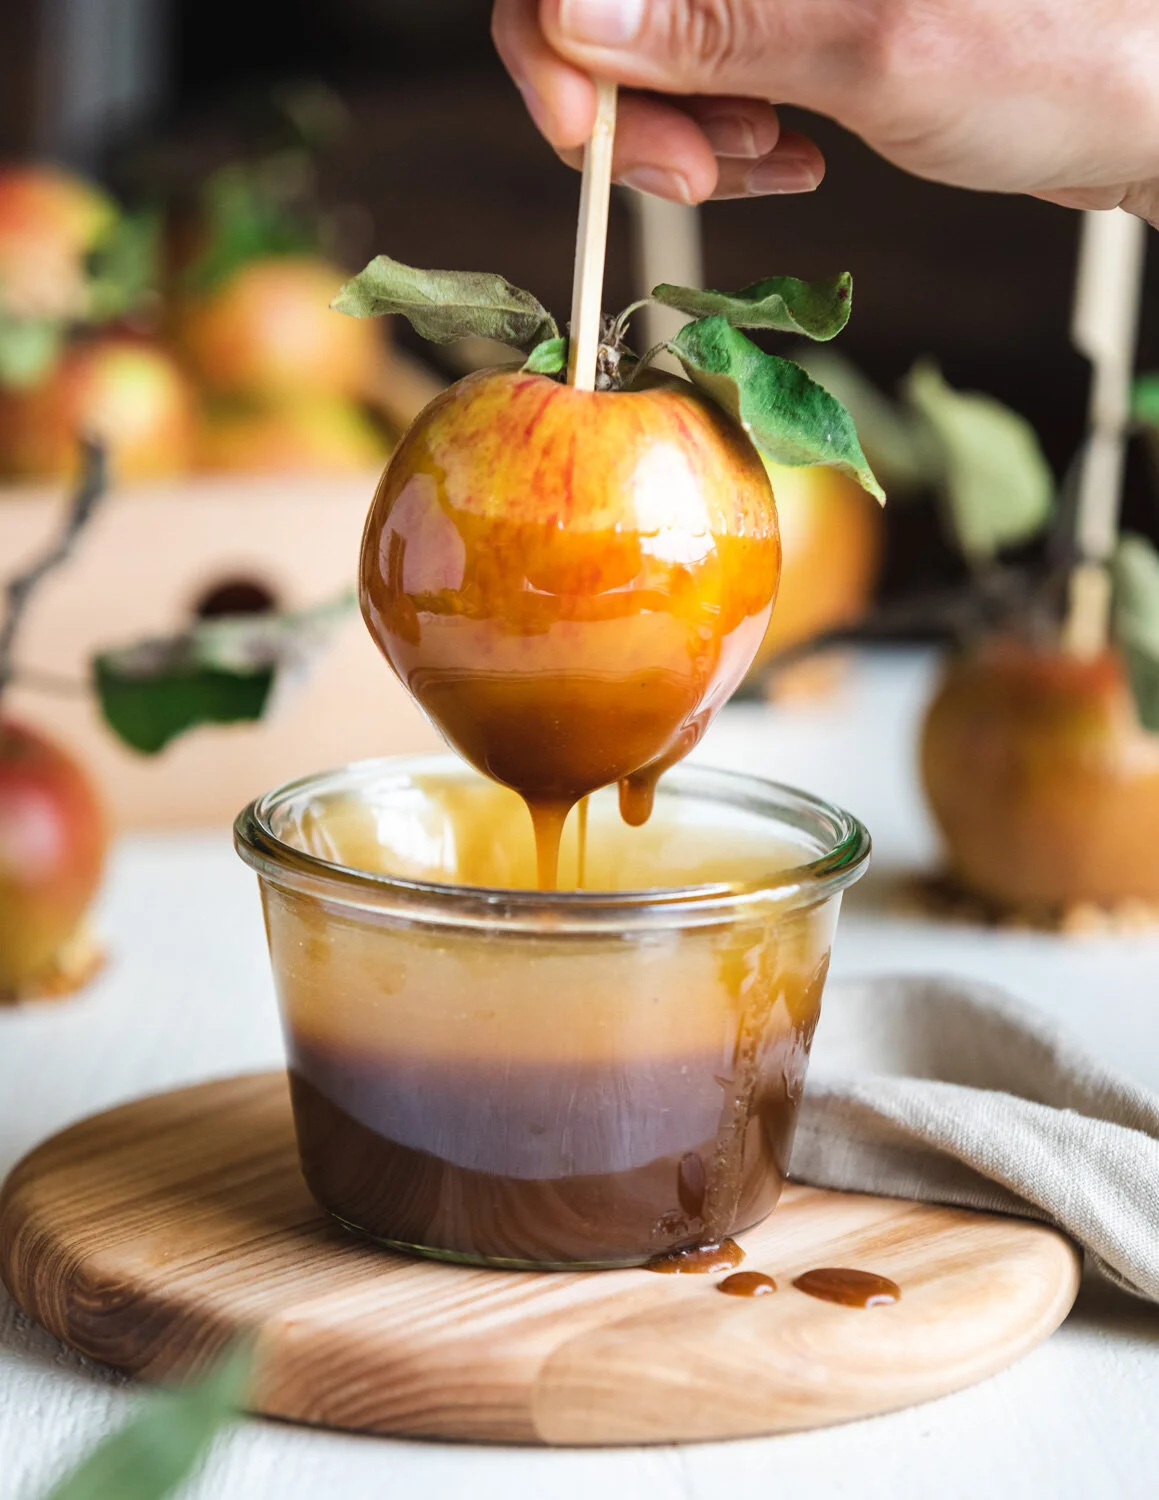
Vegan Pumpkin Spice Blender Muffins


Vegan Gingerbread Blender Muffins / Gluten & Oil-Free
Ingredients
Instructions
- Pre-heat oven to 375 F / 190 C, gas mark 5. Next, line 6 jumbo muffin cups with parchment paper (see blog post for tips on how to do this) or non-stick muffin liners.
- Add all of the dry ingredients to a blender container, securely attach the lid, and blend on medium to high speed (depending on how powerful your blender is) for about 30 seconds, or until the oats have turned into a coarse flour. You will have to stop a few times and shake the oat flour mixture so it can re-settle over the blade.
- Mash up 2 very ripe bananas and measure out 1 cup. Add the bananas and the rest of the wet ingredients to the flour mixture. Using a soft spatula, give the mixture a stir, reaching down into the corners of the blender container, to help the wet and dry ingredients blend efficiently.
- Securely attach the lid and blend for about 15 seconds only on medium speed, blending until the ingredients are just combined and smooth. You may have to stop and scrape down the sides of the container or use a tamper to push the batter towards the blade. Minimal blending time prevents the oats from becoming gummy.
- Scoop 1/3 cup of batter into each of the 6 jumbo muffin cups. Round out the tops with any leftover batter. Place in the middle of your pre-heated oven and bake for 30 minutes. You’ll know they are done when a toothpick inserted into the muffin comes out clean. For standard-sized muffins, scoop ¼ cup of batter into each cup, and bake for 20 minutes.
- Pluck the muffins out of the tin and transfer them to a wire rack. Sprinkle with powdered sugar (or date sugar) for a festive touch! Let cool 15 minutes before eating for best texture
Notes:
If you don’t have flax butter on hand, use almond butter.
Storage:
Store completely cooled muffins in an airtight container for up to 5 days or individually wrapped in the freezer for 3 months.
For step-by-step instructions with photos, see blog post!
Nutrition Facts
Calories
291.71Fat (grams)
5.89Sat. Fat (grams)
0.69Carbs (grams)
56.16Fiber (grams)
6.38Net carbs
49.78Sugar (grams)
31.25Protein (grams)
5.67Sodium (milligrams)
355.89Cholesterol (grams)
0.00Nutritional information is provided as a courtesy and is an estimate only. This information comes from online calculators.


")
