Southern Vegan Potato Salad
Southern Vegan Potato Salad
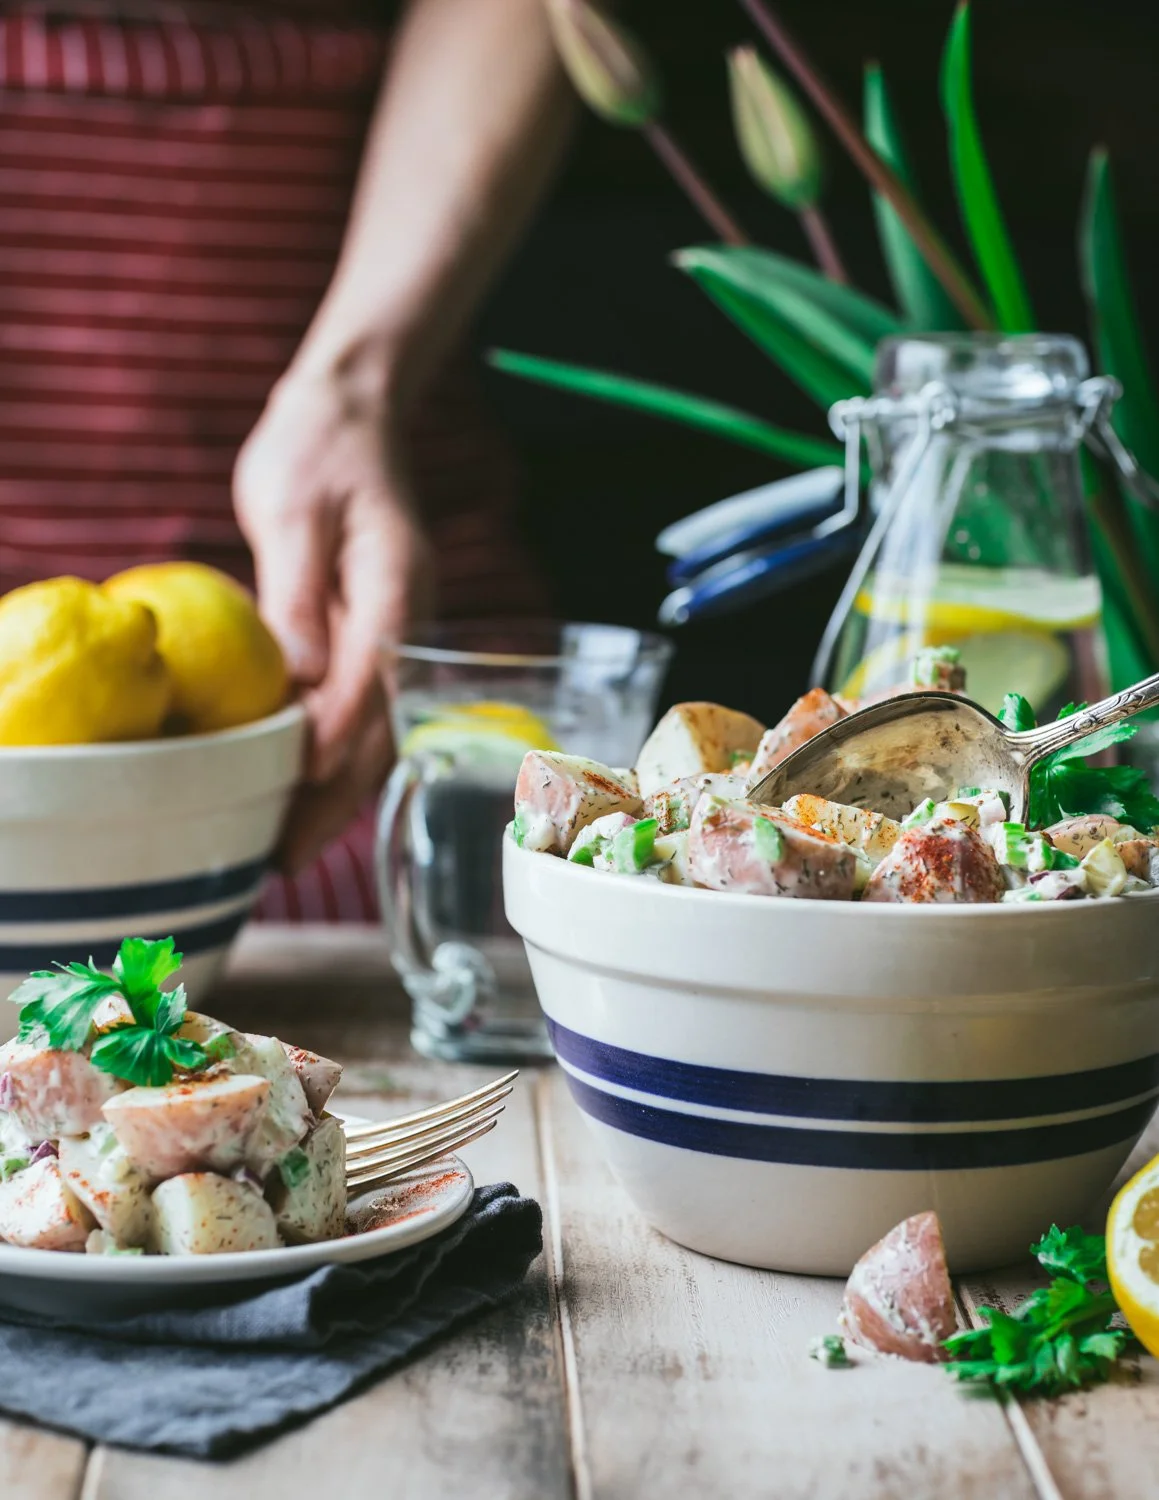
This Southern Vegan Potato Salad is sure to be a favorite at your next outdoor gathering! It’s made with red jacket potatoes, crunchy celery, spicy onions, and dill pickles, all tossed with a creamy mayonnaise dressing. Easy to assemble and incredibly flavorful, it’s the perfect make-ahead side dish!

This recipe is shared, with permission, by Shenarri Freeman and based on her Potato Salad recipe featured at vegan soul food restaurant, Cadence, in Manhattan. James Beard-nominated Freeman creates recipes with soul that tap into her Virginia upbringing. Follow @shenarrigreens.
Y’all know I live in the Pacific Northwest, right? Actually, in the uppermost northwest corner of Washington state in a little town called Port Angeles. So, I’m about as far away from the South on the continental US as you can get. I wear socks with my Birkenstocks, puffy jackets, and have 3 separate bins for recycling. Yet, I’m sharing a recipe for Southern Vegan Potato Salad. So, let’s unpack this delicious dichotomy!
On our last family staycation, we made an entire dinner out of salad recipes that were so satisfying I knew a few of them would end up on the blog. My youngest daughter, Janelle, is the sous chef at Cadence in Manhattan and works shoulder to shoulder with head chef, Shenarri Freeman who shared some of her recipes. Hands down, everyone’s favorite dish we made, was this Southern Vegan Potato Salad recipe created by chef Freeman. It’s creamy, it’s crunchy, it’s flavorful, it’s delectable. I’ve adapted the recipe some, but all the major players are there including a generous amount of mayonnaise and mustard, lots of pickles, and, of course, red jacket potatoes.
And since today is Memorial Day, I wanted to shower you with all the potato salad love!

Simple steps to mastering vegan potato salad
Start with cold salted water when cooking your potatoes. This allows the potatoes to cook on the outside and inside at the same rate, so you’re not left with mushy on the outside, raw on the inside potatoes. Generously salted cooking water seasons the potatoes from the inside out, creating layers of flavor that no amount of salt-on-top can equal.
Cut your potatoes into bite size pieces before cooking to reduce cooking time and save your fingers from chopping up hot spuds. Cook until fork tender but not mushy, and don’t forget to cool your potatoes in the fridge before making the salad.
This recipe uses red jacket potatoes with the skin on so give them a good scrubbing beforehand, picking off any “eyes” or suspicious brown spots. I tested this recipe with golden potatoes which was very tasty, just less colorful. If you’re using peeled russet potatoes, cook them until el dente so you end up with salad instead of mashed potatoes.
Cut your onions, celery, and pickles into small pieces so you get a little bit of each flavor in every bite. There’s nothing better than a mouthful of creamy potato, crunchy celery, spicy onion, and salty pickle.
Add salt to taste after all your ingredients are mixed together. There are layers of salt in this recipe from the salted cooking water to the mayo, Dijon mustard, pickles, and kala namak salt. Avoid the tragedy of over-salting by mixing all your ingredients together first, taking a taste, and then decide whether to add more salt or not.
What is kala namak salt?
Many southern potato salad recipes include hard-boiled eggs. If you enjoy this addition, the easiest way to add a touch of “eggy” flavor is to use kala namak salt, or black salt which has a mild sulfurous taste and smell, just like eggs. If you don’t like that flavor, simply leave it out and season to taste with kosher salt or celery salt.

What mayonnaise should I use?
My favorite vegan mayonnaise is Veganaise. They have multiple varieties including organic and soy-free. It’s thick and creamy, just like egg-based mayo, and tastes a little bit sweet. Plus it won’t kill you if left out on a sunny picnic table for the afternoon!

Can I make this recipe oil-free?
Yes, you absolutely can make this recipe oil-free! Substitute store-bought vegan mayo with my homemade vegan mayonnaise. Adjust the mayo recipe by leaving out the garlic and add 1 tablespoon of date sugar or preferred sweetener. You may also want to reduce the Dijon mustard in the potato salad dressing to 1 tablespoon and then add more to your liking.

This Vegan Potato Salad recipe is a guaranteed crowd pleaser and deserves a spot in your outdoor dining plans. It’s:
Hearty
Uncomplicated
Wildly flavorful
Dairy-free
Vegetarian
Gluten-free
Vegan
Plant-based
If you need me this Memorial Day, just look for the PNW gal in the puffy jacket-wearing socks with her Birkenstocks and eating large quantities of this tantalizing vegan potato salad!

More satisfying salad ideas for Memorial Day!
Cowboy Caviar with Quinoa and Zest Lime Dressing
Everything you need to make Southern Vegan Potato Salad
Ingredients / Makes about 8 cups

2 pounds red potatoes, skin on, scrubbed, and cut into bite-sized pieces
Salted water for boiling the potatoes (2 quarts of water with 2 tablespoons of kosher salt)
¾ cup of vegan mayo
2 celery stalks (1 cup), small diced
¼ red onion (¼ cup), small diced
3 pickle spears (½ cup), loose seeds scraped away, and small diced
2 tablespoons of Dijon mustard
1 tablespoon of freshly squeezed lemon juice
2 teaspoons of dried dill
1 teaspoon of celery seed
1 teaspoon of kala namak salt (optional for eggy taste)
Salt and black pepper to taste
Garnish with smoked paprika
How to make Southern Vegan Potato Salad
1. Give your potatoes a good scrubbing, picking off any “eyes” as you go. We are leaving the skin on, so you want them to be free from dirt. Cut the potatoes into bite size pieces, small enough to fit easily on a fork.

2. Fill a 4-6 quart pot with 2 quarts of cold water, mixed with 2 tablespoons of kosher salt. Add your potatoes, cover, and bring to a boil. Cook the potatoes until they are fork tender but not mushy and falling apart. This will take about 15 minutes total.
3. Drain the potatoes in a colander, rinse them well with cold water, and put them in the fridge to cool while you make the dressing.

4. Add the rest of the ingredients to a big bowl and mix them all together.

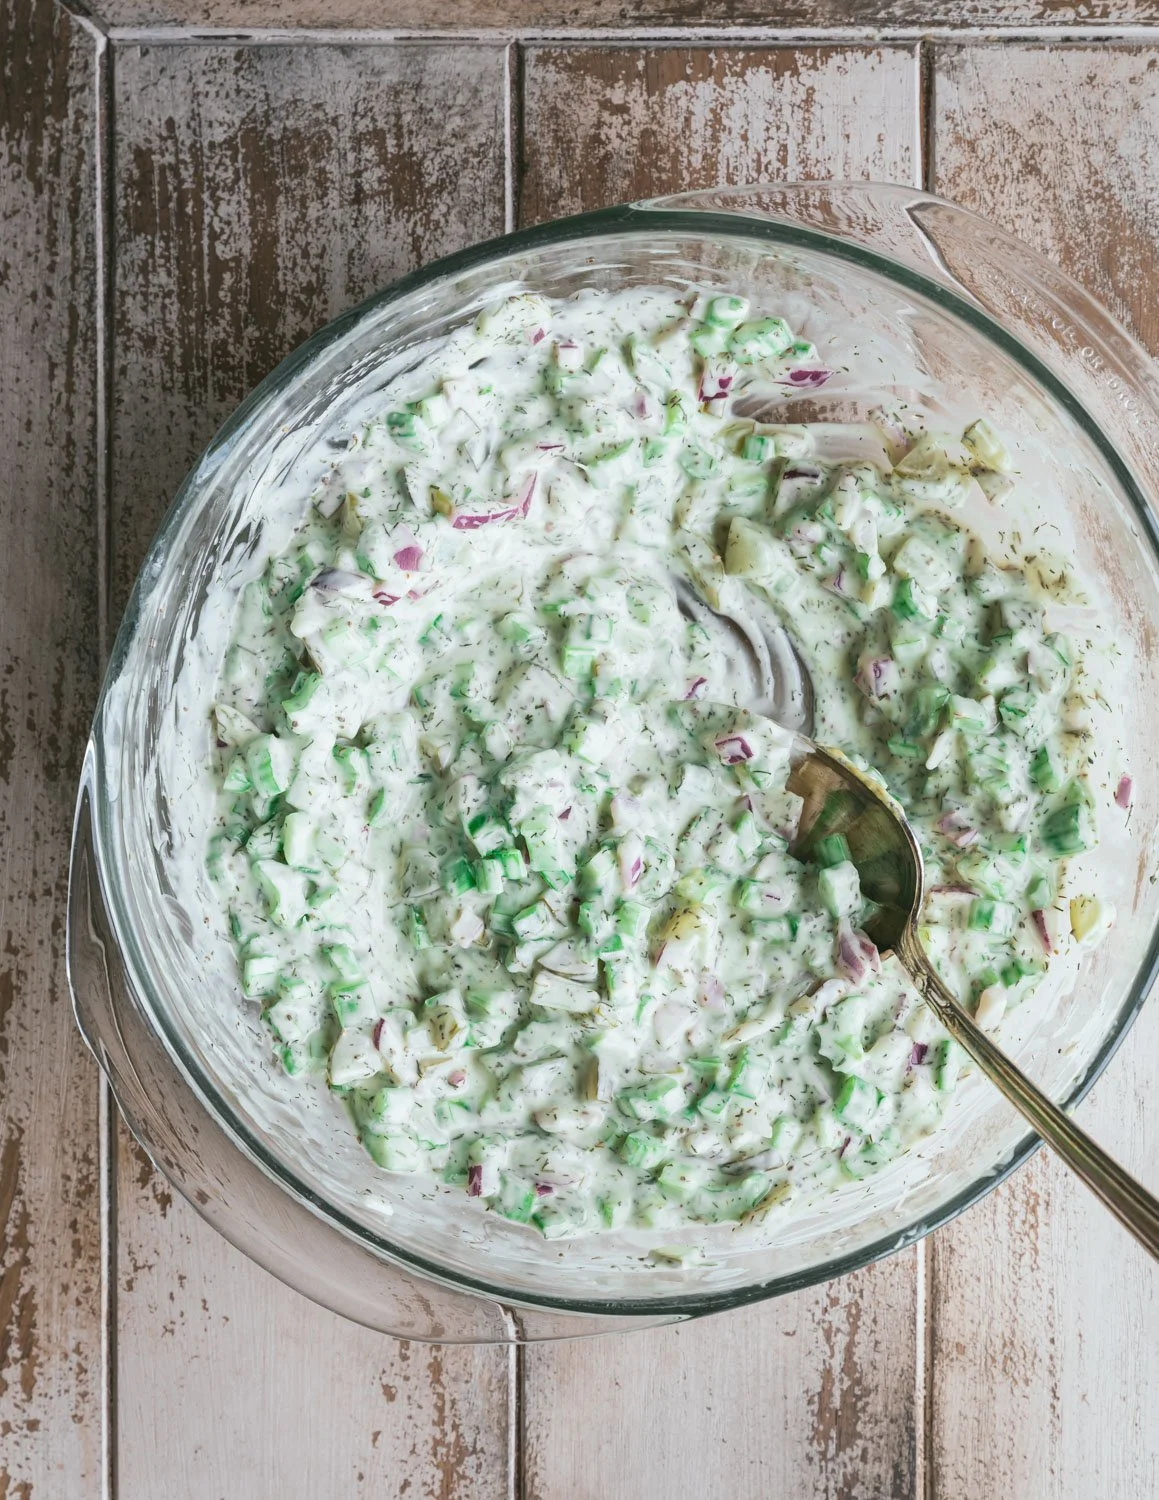
5. Tumble the cooled potatoes into the bowl with the dressing. Use a flexible spatula to fold the potatoes into the dressing.

6. Garnish with smoked paprika and serve at room temperature or chilled.

Storage:
Store leftovers in the fridge for 3-4 days. The flavors intensify as it rests in the fridge, making it a great make-ahead side dish, perfect for gatherings and pot-lucks!
This recipe does not freeze well, as the texture of the potatoes and celery changes from creamy and crunchy to dry and soft.

If you like this recipe, please leave a 5-star rating on the recipe card below. I always appreciate your feedback and hearing about your creations! For more yummy vegan recipes, you can follow along on Instagram, Pinterest, Facebook, and Tiktok. I also send out a weekly newsletter with my latest recipes and upcoming cooking classes. Subscribe here and receive a FREE e-cookbook!

Southern Vegan Potato Salad
Ingredients
Instructions
- Give your potatoes a good scrubbing, picking off any “eyes” as you go. We are leaving the skin on, so you want them to be free from dirt. Cut the potatoes into bite-size pieces, small enough to fit easily on a fork.
- Fill a 4-6 quart pot with 2 quarts of cold water, mixed with 2 tablespoons of kosher salt. Add your potatoes, cover, and bring to a boil. Cook the potatoes until they are fork-tender but not mushy and falling apart. This will take about 15 minutes total.
- Drain the potatoes in a colander, rinse them well with cold water, and put them in the fridge to cool while you make the dressing.
- Add the rest of the ingredients to a big bowl and mix them all together.
- Tumble the cooled potatoes into the bowl with the dressing. Use a flexible spatula to fold the potatoes into the dressing.
- Garnish with smoked paprika and serve at room temperature or chilled.
Notes
Storage
Store leftovers in the fridge for 3-4 days. The flavors intensify as it rests in the fridge, making it a great make-ahead side dish, perfect for gatherings and pot-lucks!
This recipe does not freeze well, as the texture of the potatoes and celery changes from creamy and crunchy to dry and soft.
For step-by-step instructions with photos, see blog post!
Nutrition Facts
Calories
230.01Fat (grams)
16.15Sat. Fat (grams)
2.52Carbs (grams)
19.42Fiber (grams)
2.42Net carbs
16.98Sugar (grams)
2.03Protein (grams)
2.75Sodium (milligrams)
623.99Cholesterol (grams)
0Nutritional information is provided as a courtesy and is an estimate only. This information comes from online calculators.